
I made this:

Using this tutorial. I didn't realize that you could manipulate shapes with the direct select tool much the same way you do in Illustrator.
Only to get a good border, I had to paint the side, then select the transparent cells, fill those with black, and select inverse again to get the original painting on the side, and delete. Then, I could use the transparent cells on the side to make my border. (A bit of a pain. There is probably an easier way.)
And I added a layer at the bottom with the color black for my background color.
I also added a texture and followed my standard texture protocol...which in a nutshell is...
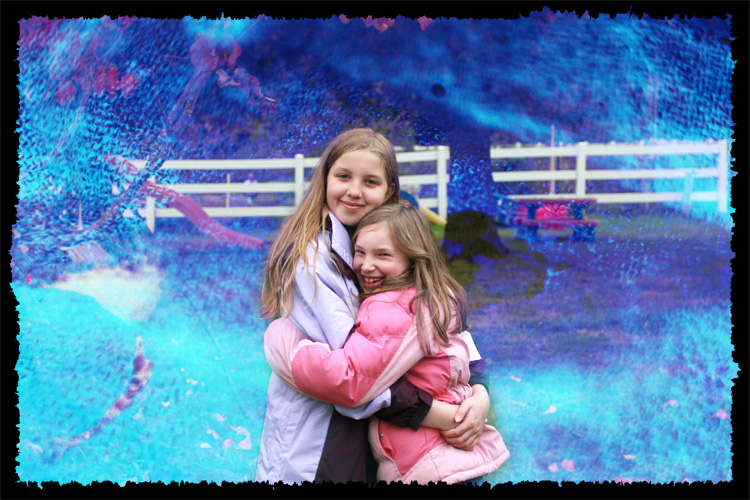
Using the same (EASY) technique I write about in the previous entry, I also made this. I

For the above photo, instead of using a shape for my black clipping layer, I just painted with a large, rough brush on a transparent layer, and made sure the color was black. Then I ALT clicked the line between the black layer (bottom) and the photo (top).
If you want an edge other than standard Photoshop brushes, this gal has quite a few she offers for free (and others for a good price). Or, you could make your own.
Rounded Corner Image with Border
I was over at Pioneer Woman. She has recently asked readers to submit their photos with rounded corners. Rounded corners, of course give your photo a different feel and certain photos look especially great with rounded corners.
I was also recently over at Coffee Shop Photography. She has a couple of tutorials over there on making story boards with clipping masks.
Do you ever have something you want to do in Photoshop and it isn't that Photoshop's directions are so terrible, but you have to know what that thing you want to do is called so that you can look it up. I think Photoshop's directions on this are quite clear. If you don't find mine clear, just look up Adobe Help in Photoshop and type in "Clipping Mask".
Pioneer Woman gives you one technique for making rounded corners. It is how I've been making rounded corner images up until now. But, having just learned about "Clipping Masks", I'm thinking clipping masks to be the most straightforward way to do this. So, I'm including a little tutorial.
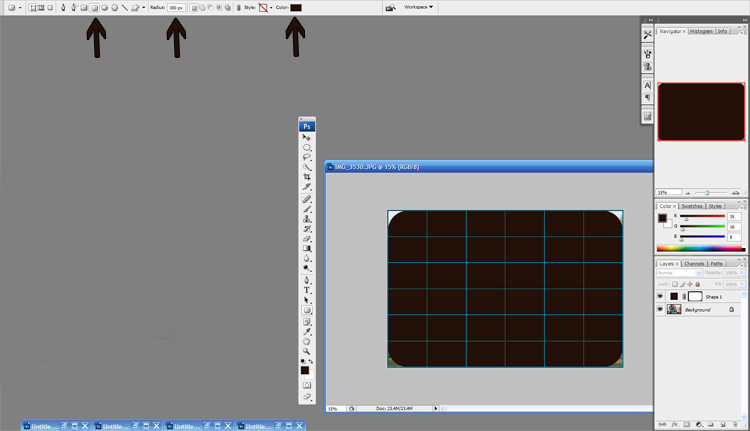
The arrows point to the settings on your rectangle that you want to pay attention to.
![]()

If you further want to add a black border around the rounded image you can easily do so by merging visible layers (don't flatten), right-clicking on the image and choosing to bring "Layer From Background", right-clicking and choosing blending option, choose stroke, make the color black or other desirable color, choose your width, and for position choose inside. This will give you a border.
I plan on adding a tutorial for making a story board or collage with clipping masks soon too, but this should get you started with them. A very handy tool to be familiar with.
I was playing with my new lens again and so I took my kids to the park. Aren't I blessed to live somewhere with such beautiful trees everywhere? When the rain gets me down, I realize I've been letting myself be stuck inside too long. When we got to the falls at the park, we saw a bald eagle and I was saddened I didn't bring my other lens with me. We may go back soon.
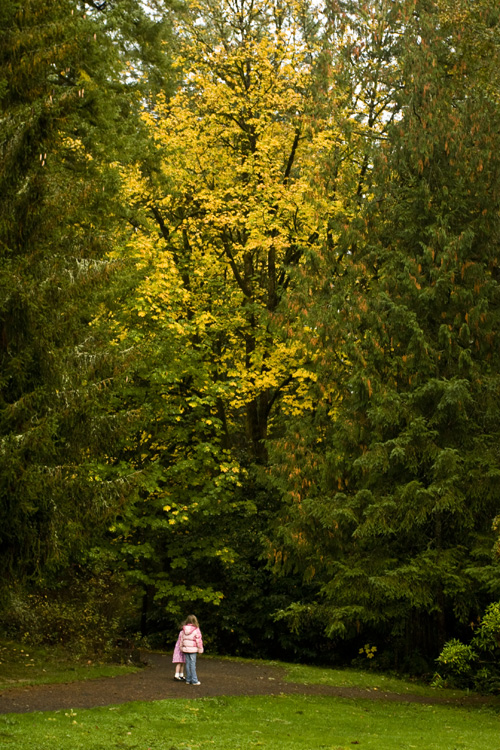
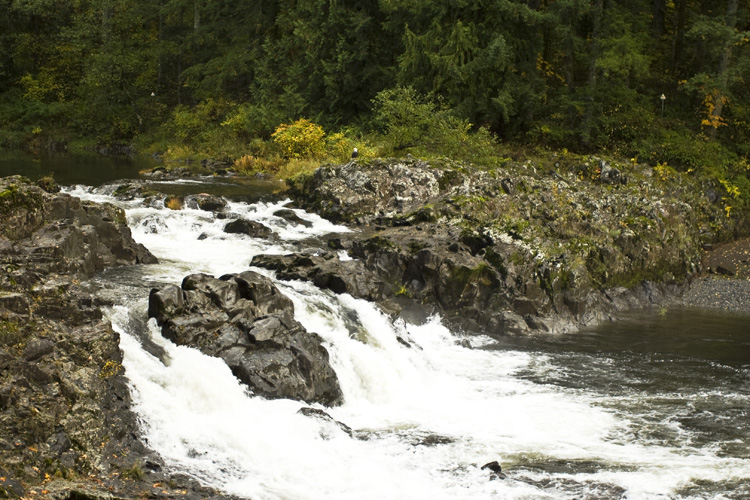
I just got a new lens that I've been wanting for the longest time. Did you know that having a high quality lens allows you to overcome weaknesses in your camera itself? Like digital noise issues. I for one have never been happy with how landscape pictures have turned out on my camera. I am so happy with this lens. It is sharp, sharp, sharp.
It's a Canon Wide Angle 17-40mm f/4.0L. Sure I would have rather had low f stop lens, but this lens was a great price point for how high quality it is. I'm so excited to take pictures of things like...trees. Boring I know. But, it thrills me.
I've got my zoom lens and my macro lens. Pretty much I have the lenses I need now...with the exception of some kind of f1.4 or f1.8 lens or a super zoom. I have to have something to wish for in future years, right? So, here are some try out pictures. I did add some minor cross-processing post camera.

Here is my photo for this week's I Heart Faces photo challenge. This is my now toddler daughter when she was a baby.


I had fun shooting pictures at our company bowling night last night. Ideally in a bowling alley (or any dark place) I would have had a reflector-diffuser to avoid those hard shadows from my flash.
Here you can learn how to make your own reflector-diffuser. These work great. I have a friend that has made one and they create lovely soft indoor pictures. For a professional and compact one take a look at LumiQuest Quik Bounce, I just saw advertised in Photoshop User Magazine. I may have to get one for myself come Christmas.
Partially bouncing off the ceiling worked alright. Don't forget extra batteries for your flash when shooting at a dark location.
I hope you enjoy the pictures.


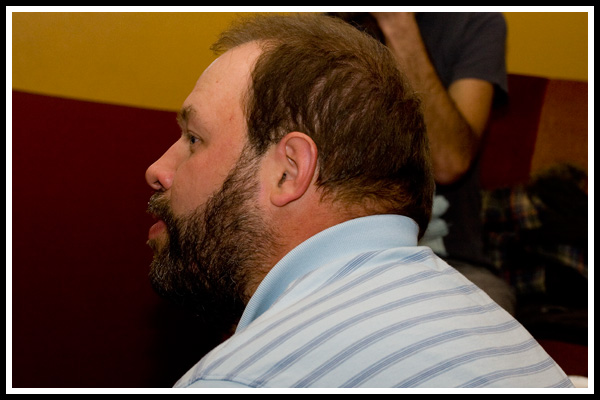

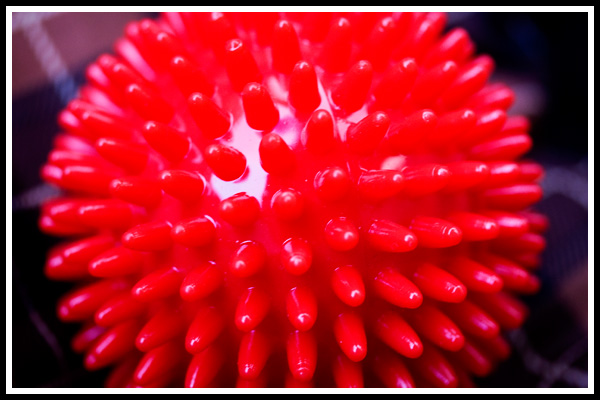
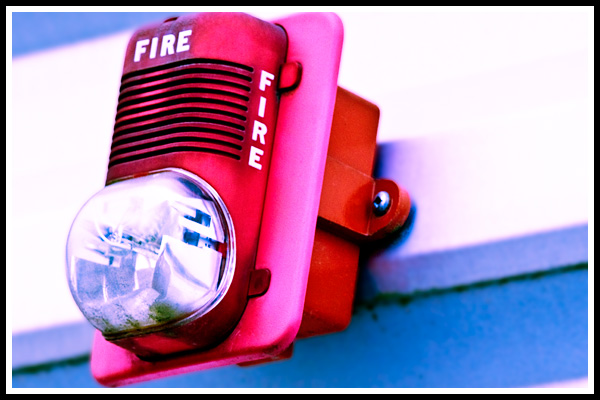
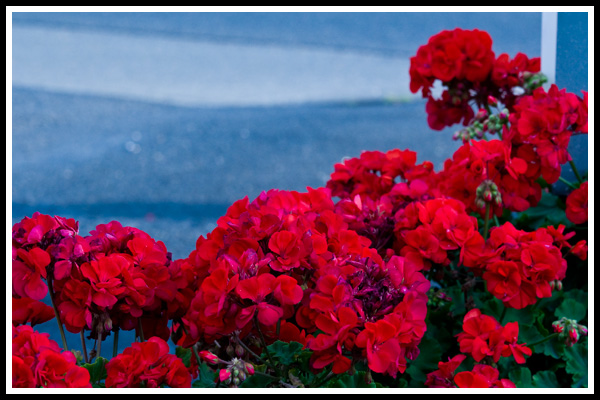
Here are my red photos. I sure had fun taking these last week when I was out and about with my oldest daughter. These were actually all taken within a few hours of each other.


I've had issues with my CF card. I shoot in RAW and am constantly copying my files to my computers.
Our family owns our own business, so I actually back up all my files on two computers, one at home, one at work. In addition, both my computers have a backup RAID system. That isn't always full proof, as I have had both my hard drives go out in a very close time frame from each other before. So, I back up to two computers. My husband tells me that my images, especially ones of our family, are priceless, and that I should regularly back up my images to our server as well (triple+ redundancy). Every once in a while I will do that, but generally speaking I think two RAIDed computers is pretty safe.
When my second daughter was born, I didn't have my an SLR camera. I had a G2. It took beautifully crisp pictures for a point and shoot. But, it had issues with its power supply and battery. You couldn't charge up the battery without plugging in the camera. In addition, the charger had a loose connection. Then, once, I ruined the charger, by doing the off/plug-in/on order of operations wrong. Luckily, Canon replaced that for free. On top of that, the battery didn't hold a charge well. So, charging was a pain, and when it came time for my daughter to be born, I didn't have power to my camera. I ended up getting a couple of shots of my newborn daughter by plugging the camera into an outlet and taking a picture attached to the outlet. But, then when I got home, I didn't have this back-up-the-image-at-two locations-before- deleting thing going, and most of those few picture I got were deleted. Oh, I was crushed. Luckily, I had a put a couple of them in a separate location for e-mailing. So, I have a couple of photos of when my daughter is born (but most of them are sized small for e-mailing).
This kind of thing happens to so many people these days...a couple of extra big hard drives for your family computers and backing files up on them should really be considered by almost everyone. If the two computers are in the same location, putting the files on some other medium or on an external hard drive and even putting the medium or the hard drive in a safety deposit box might be in order. As for me, I think I'm pretty safe, come what may, to have my images on two seperate computers at two seperate locations.
Well, as I said, I do a lot of copying and deleting of files. And I've run into issues with my CF card and have almost sent it back to the manufacturer. But, a technician I work with came up with a solution and that is to do a slow reformat on my CF card (works on other PIN drives too). Of course, you would do this after backing up the files on your CF card. The error I was getting was CF full. However, my old card, just stopped working at all without any message. It may be that we didn't need to send it back, but just needed to reformat it. It's worth it to try that first if your having any sort of problem with your memory card or pin drive. Just put your card in your computers card reader, right click on the drive, and choose format, then choose slow format. (Again, make sure you do this after backing up files as reformatting deletes all files.)
If you are into lighting at all, or you want to be, this entertaining video is for you.
And, here's the original commercial:
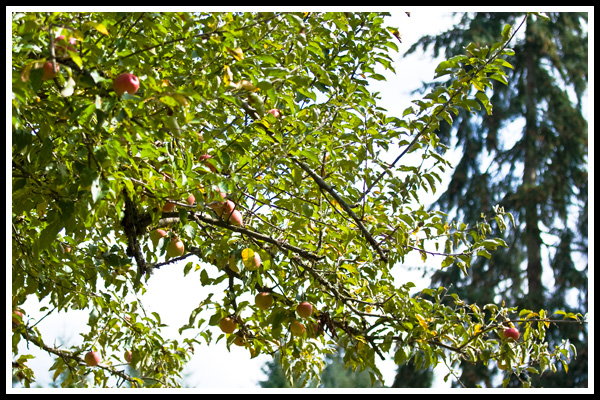
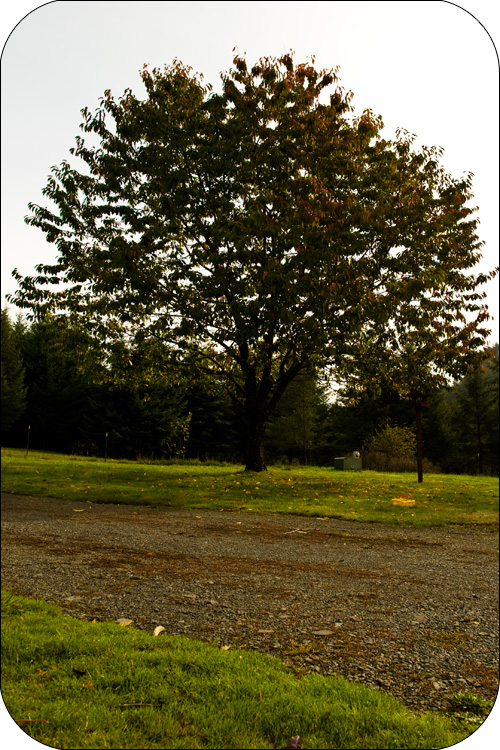
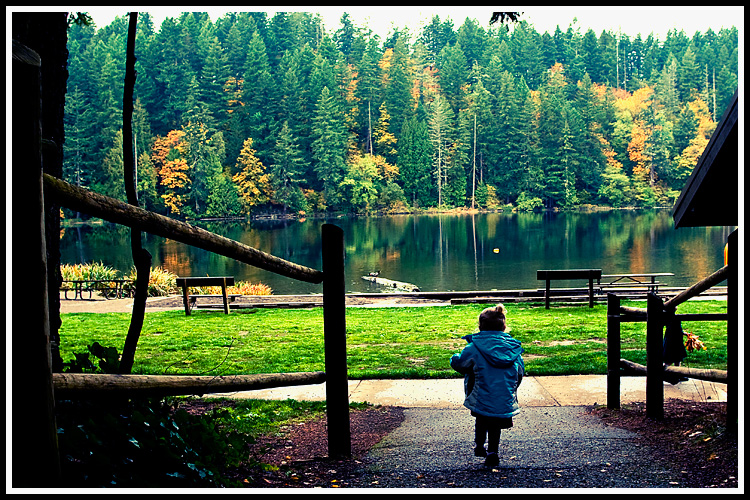
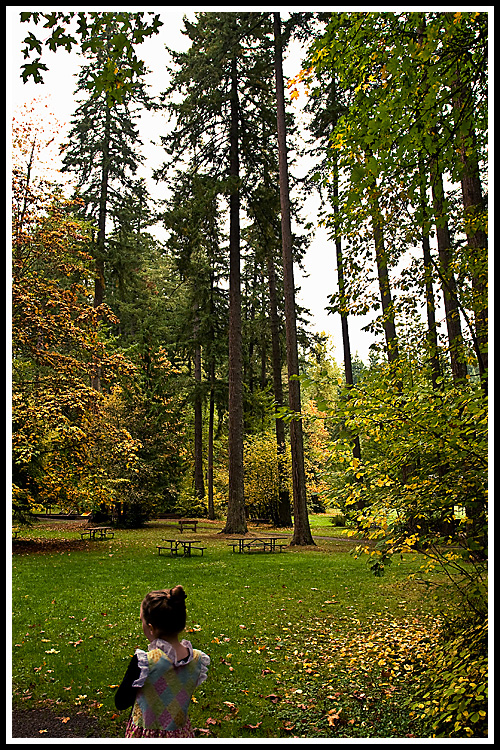
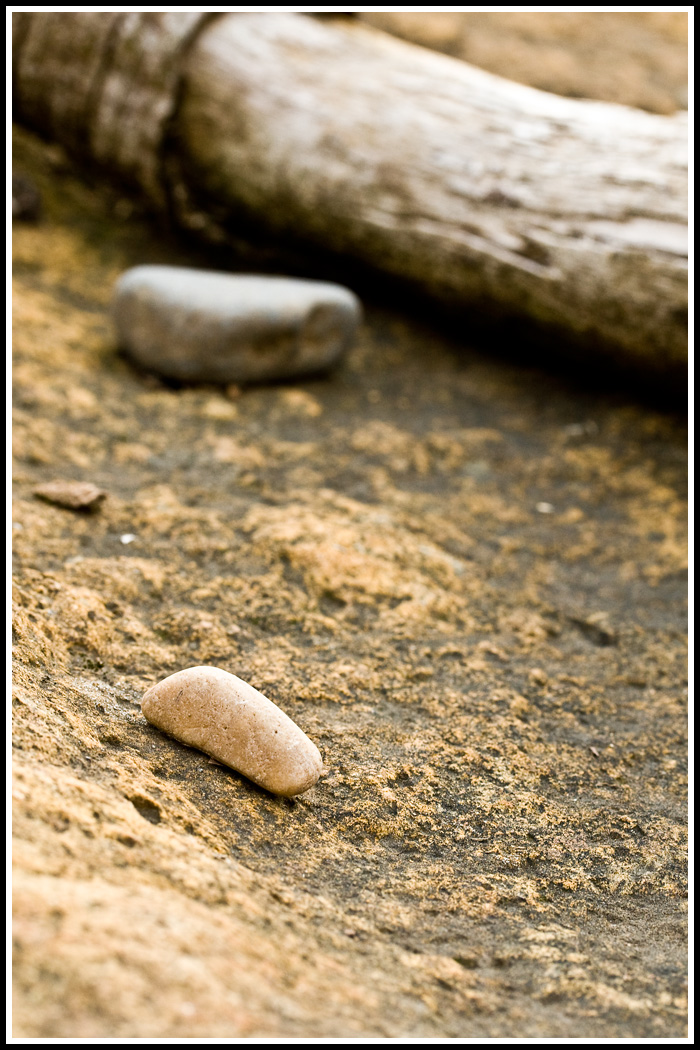
I am participating in I Should Be Folding Laundry's weekly photo challenge. This week's challenge was things that feel like fall.
Next week's theme: The Color Red
Here are my photos.