Thanks to
Marla, I learned a second method for enhancing dull skies. Part Two of this tutorial:
http://www.layersmagazine.com/exposure-blending-in-photoshop.htmlThis technique is also good for high contrast photos that have heavy shadows and heavy highlights. It brings out the details in the photos that are typically missing in deep shadows or bright highlights.
Basically, by opening your RAW image as a Smart Object, you are able to create a second version of your image which you can adjust with Camera Raw. Then you apply a adjustment filter to it, to hide portion where you want to use the original settings from your first Camera Raw version of the photo.
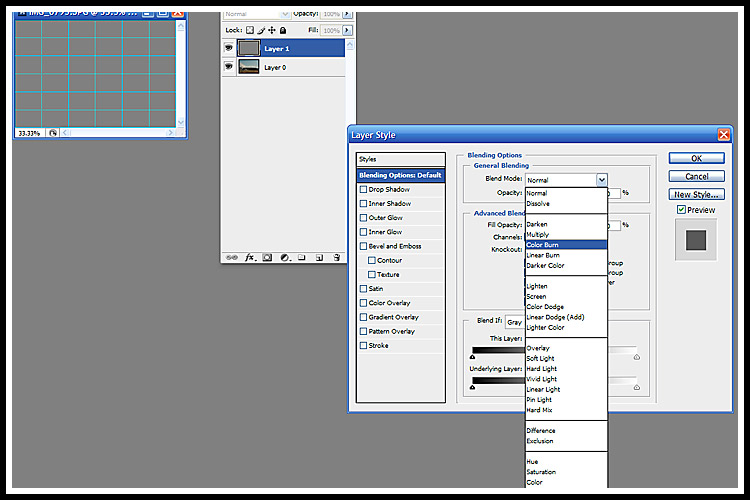
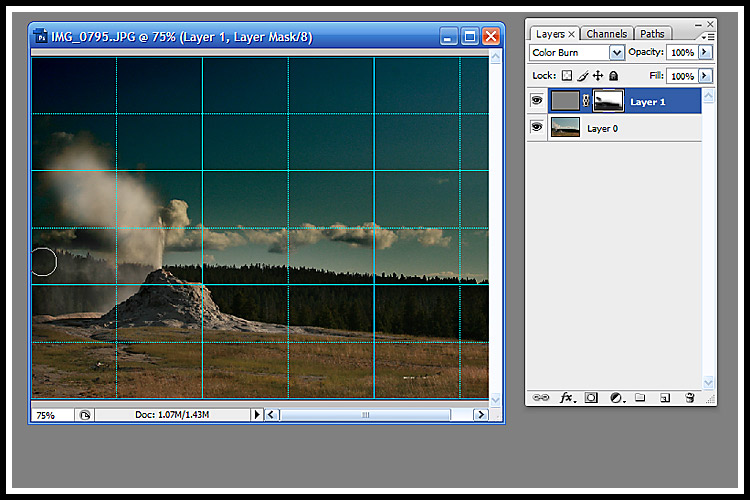
I compared this to the other technique I learned for enhancing skies...which is to add a second layer at 50% grey, apply color burn, and make an adjustment layer to get back your original image for the non-burned layer.
Just for fun, I played around with these two techniques to compare them. I took an old photo from Hawaii and applied the two techniques. Basically, the Camera Raw/Smart Object version seems to restore the actual details of the sky. The Color Burn version seems to be an artistic addition to your photo. It produces slightly unreal colors in the sky...but color popularly seen in digital photography today. Here are the versions...
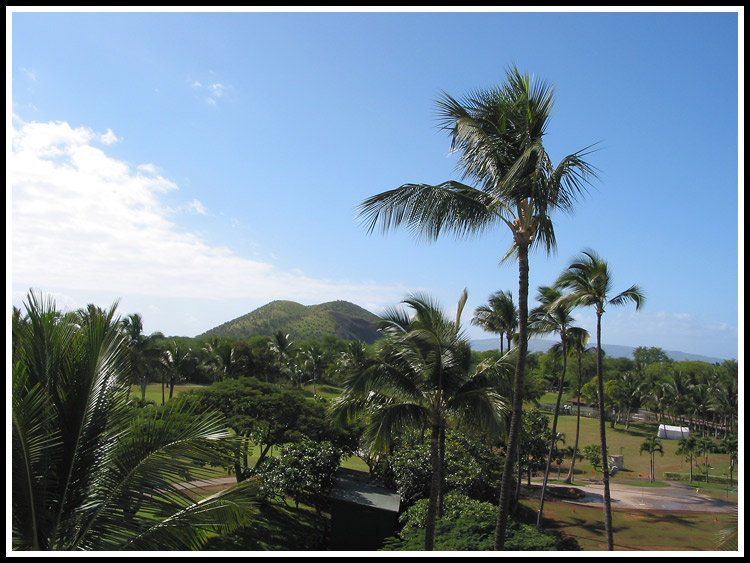
Original
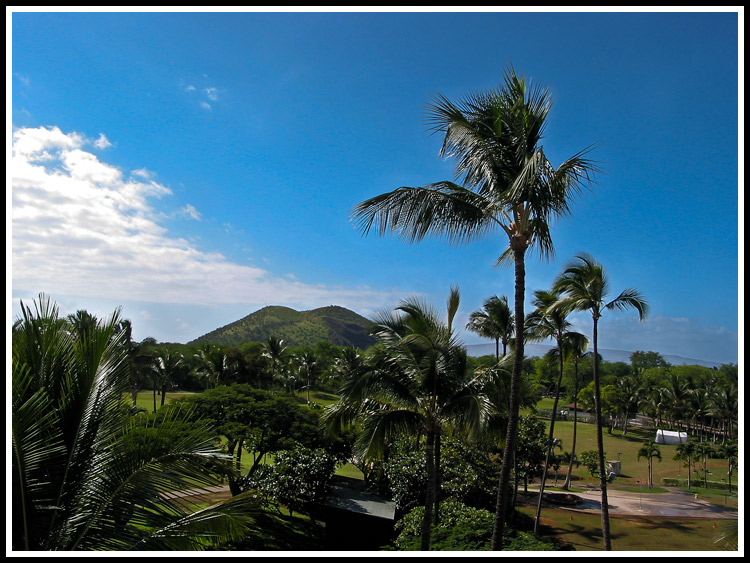
Camera Raw/Smart Object
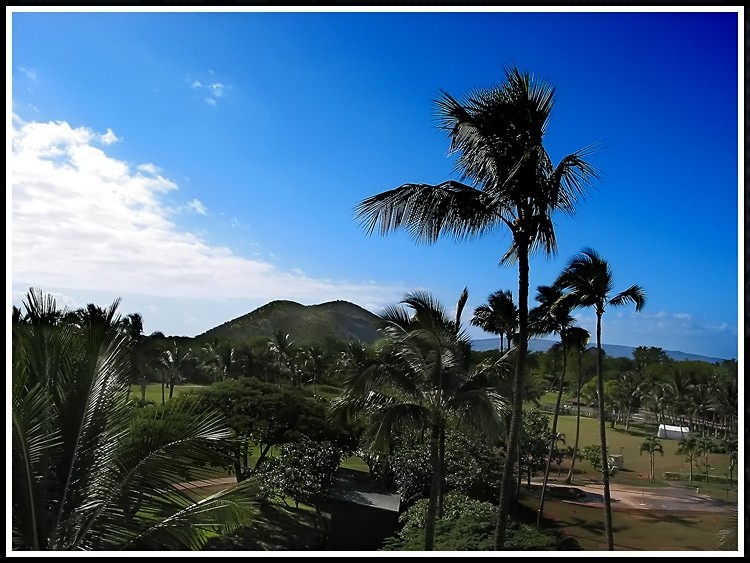
Color Burn (again this technique brought out the noise, so I ran the Noise Filter on it when done)