Rounded Corner Image with Border
I was over at Pioneer Woman. She has recently asked readers to submit their photos with rounded corners. Rounded corners, of course give your photo a different feel and certain photos look especially great with rounded corners.
I was also recently over at Coffee Shop Photography. She has a couple of tutorials over there on making story boards with clipping masks.
Do you ever have something you want to do in Photoshop and it isn't that Photoshop's directions are so terrible, but you have to know what that thing you want to do is called so that you can look it up. I think Photoshop's directions on this are quite clear. If you don't find mine clear, just look up Adobe Help in Photoshop and type in "Clipping Mask".
Pioneer Woman gives you one technique for making rounded corners. It is how I've been making rounded corner images up until now. But, having just learned about "Clipping Masks", I'm thinking clipping masks to be the most straightforward way to do this. So, I'm including a little tutorial.
- Open your image.
- Choose the rectangular shape tool. This will automatically make a new layer. Choose the rounded type of rectangle (you do this on the shape tool bar at the top of your window) and choose how much of a radius you want for your rounded corners. I was working with a full sized image so I chose 300px. Also make sure the color of your shape is black.
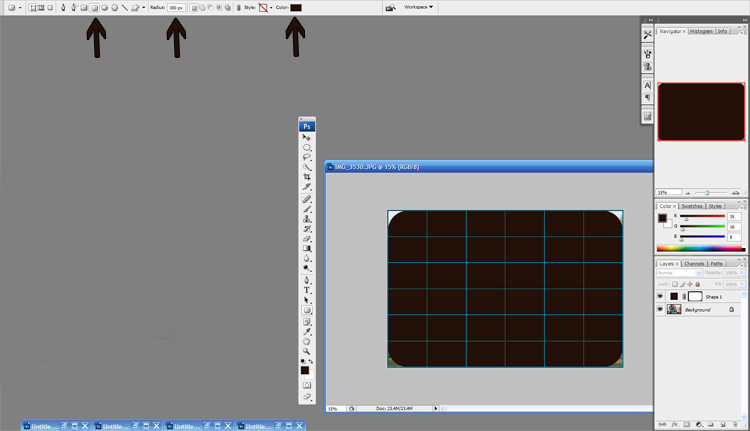
The arrows point to the settings on your rectangle that you want to pay attention to. - Now take your picture and make it the top layer above your rounded rectangle. You can do this by clicking on that layer and dragging it above the other layer.
- Now press and hold ALT (CMD on a Mac)and take your mouse and click it on the line in between your picture (on the bottom) and the rectangle (on the top). You will see this little symbool when you are pressing ALT and hovering over the line. This is the Clipping Mask symbol.

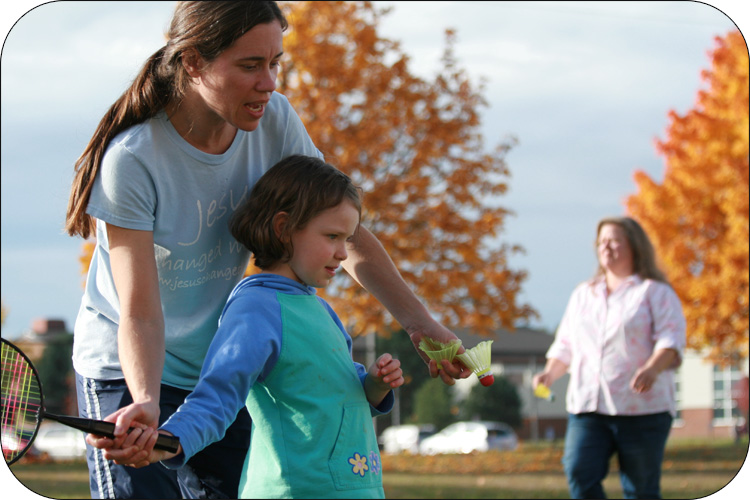
- You should now have a clipped version that top layer (your picture) and it will now have rounded corners. Save.

If you further want to add a black border around the rounded image you can easily do so by merging visible layers (don't flatten), right-clicking on the image and choosing to bring "Layer From Background", right-clicking and choosing blending option, choose stroke, make the color black or other desirable color, choose your width, and for position choose inside. This will give you a border.
I plan on adding a tutorial for making a story board or collage with clipping masks soon too, but this should get you started with them. A very handy tool to be familiar with.
2 comments:
Ooooo, that's a way easier way than I do it! Brilliant!
Great tutorial! Don't you love PW's assignments? I incorporated both texture and rounded edges on mine. So fun!!!
Post a Comment