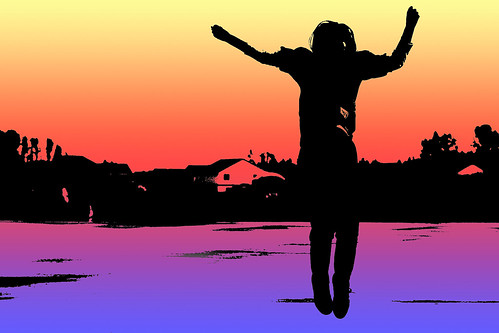
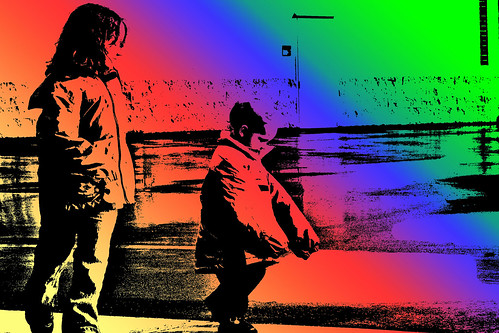
I just wanted to share a couple of other silhouettes I was playing around with when posting for I Heart Faces Silhouette Challenge. Here they are:
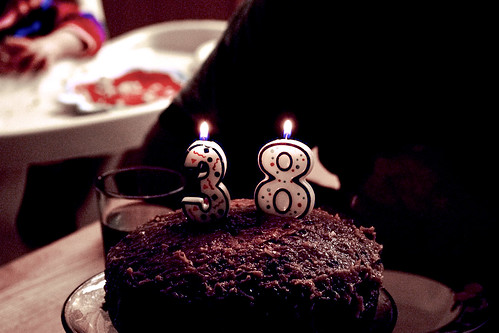

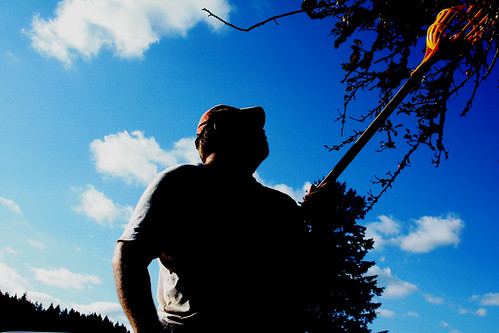
I just wanted to share a couple of other silhouettes I was playing around with when posting for I Heart Faces Silhouette Challenge. Here they are:

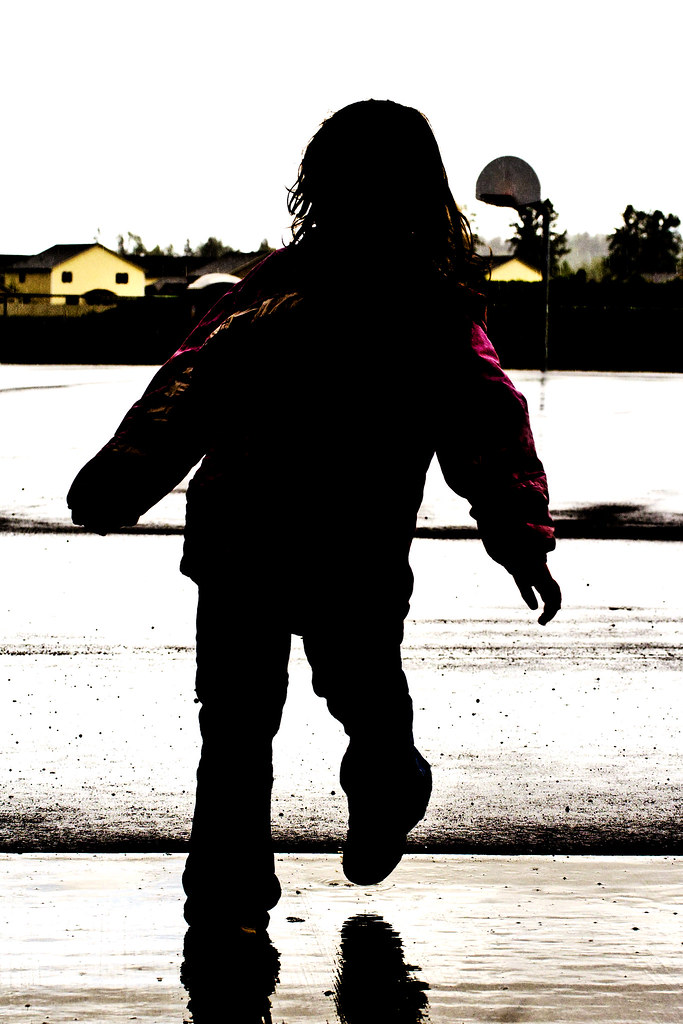
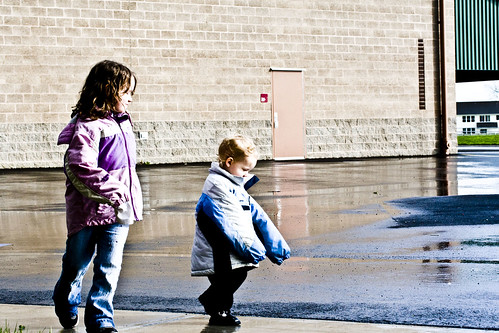
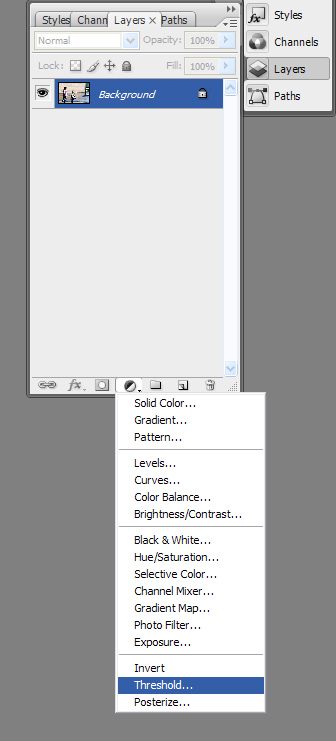
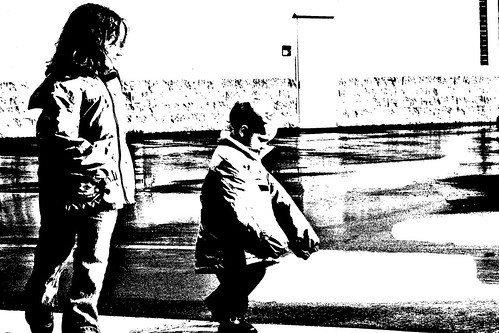
Here is my submission for Iheartfaces this week. The theme is Silhouettes. Quite frankly, I need a little help with my silhouettes. Particularly, I need a little help when a beach is not quite that handy. While taking these pictures here, I was shooting against a very wet playground at a school after soccer practice. The background was not so strikingly different in terms of light from my subject. Adobe Photoshop Camera Raw to the rescue. Increase blacks, play with exposure, increase clarity, play with contrast - and presto, a pretty cool looking silhouette. So, here is my entry:
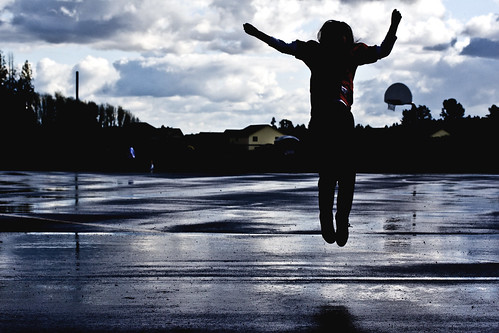
For more pictures of Mommy having TOO MUCH FUN while attending soccer practice in the rain, see my Soccer Practice Post.
This week's Fix It Friday was a little girls with pony tails. I like to find a new skill I can learn with Photoshop when I work on a Fix It Friday image. This week I learned how to do a fade to transparent on an image in Photoshop. Here is the tutorial I used: Fade Images In Photoshop Using Layer Masks.
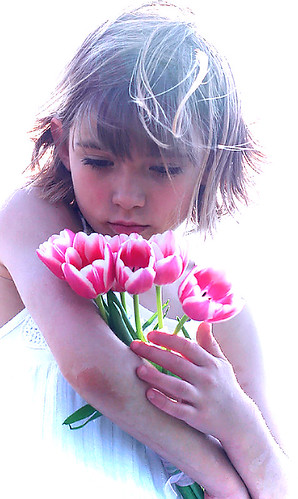
Here is the original image this week:

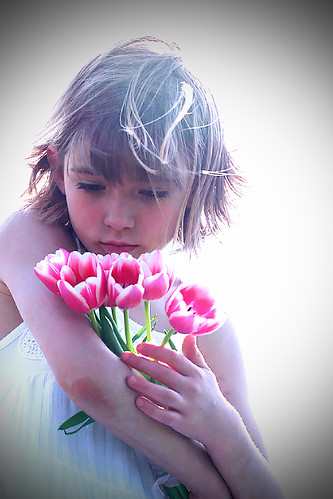
Here is the fixed version:

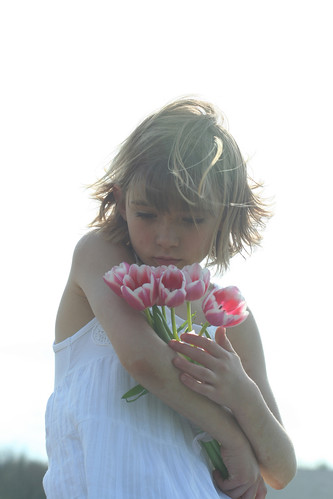
Here is my submission to Iheartfaces this week - my recent favorite face photo of my dear little Abigail. This photo was taken at a recent sibling's soccer game, where we were watching the game. I love the colors, don't you?

I am submitting this photo into the www.iheartfaces.com Blurb book photo contest. If chosen, I grant I ♥ Faces permission to use my photo in a printed version of a book for commercial use and possibly advertising of a photo book on both the Blurb and I ♥ Faces web sites.
Every Friday, I Heart Faces hosts Fix It Friday (or Constructive Feedback Friday) to give photo enthusiasts a chance to fix someone else's photo with Photoshop (or other photo editing software).
Here is the original of this week's photo - Little Beauty:
Here is what I did to "fix" the photo:

These adjustments alone leave quite a pretty picture, such as you can see here:
I continued on, however. Here are the rest of my steps.
Here are a couple of fun images for you:
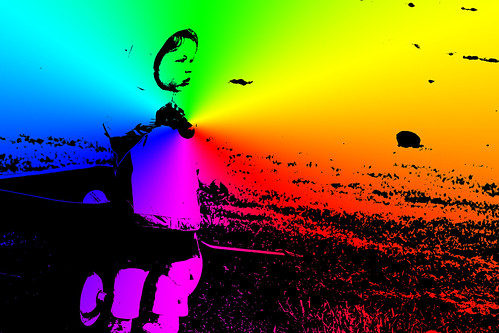
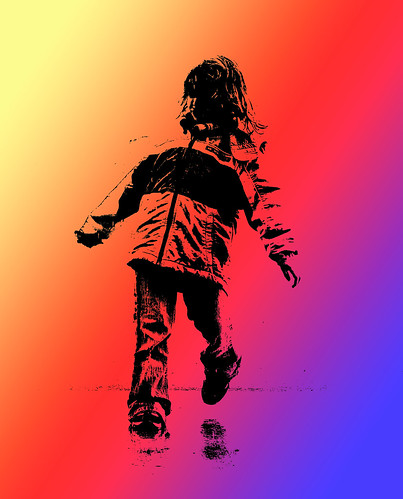
Here is how you can make your own:

NOTE:I made my gradient a rainbow as it seemed to fit the pictures of my kids. You can choose any gradient you want. A more subtle gradient would work great too.
This is my final image.
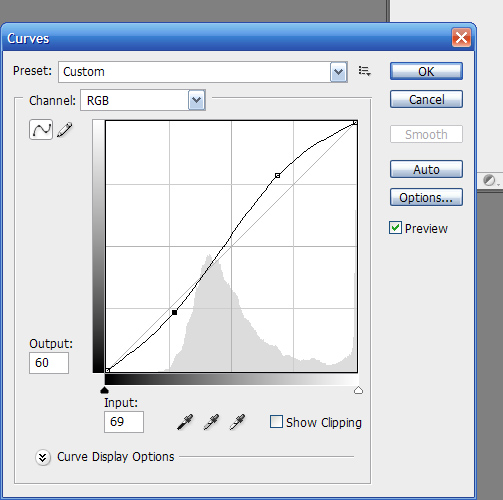
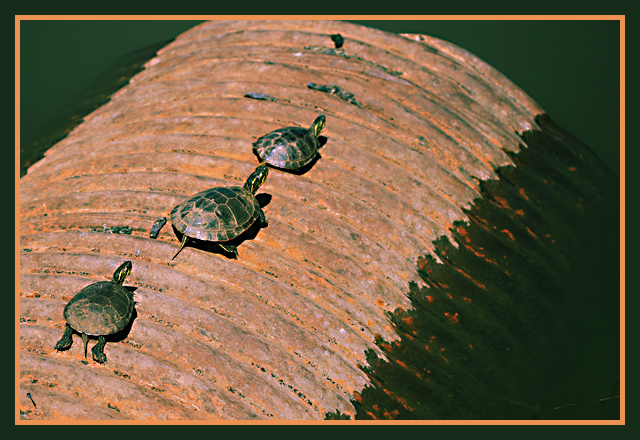
I love to learn new things. I just learned about cross processing. Here is a good tutorial on it. Cross processing basically adds more contrast to already contrasty pictures - making them POP. In a nutshell, you take your picture, you apply a regular S curve to your RGB in curves. Then you apply an S curve to your red channel and your green channel. Finally, you apply an inverted S curve to your blue channel. And voila - it's cross processed. See the tutorial if that doesn't make sense to you. One, warning, you might want to make your curves slightly shallow or it may look over-processed. Adjust to your tastes. It's all a matter of tastes.
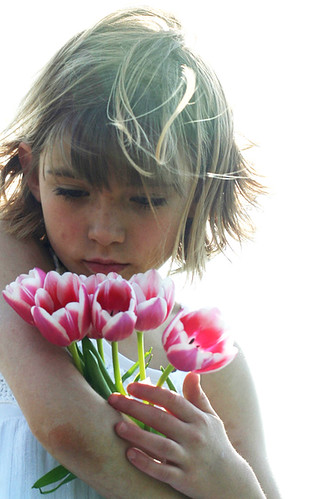
Here is my cross processed picture of a couple of turtles (at the BIRD sanctuary):
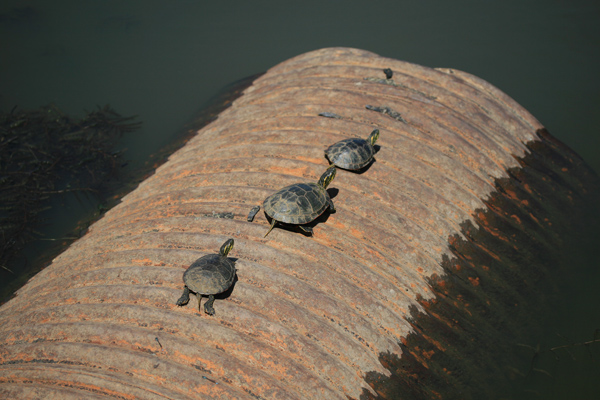
Here is my original. I also applied an unsharp mask to the photo and applied the rule of thirds to my photo as Alyssa so clearly explains in this tutorial.

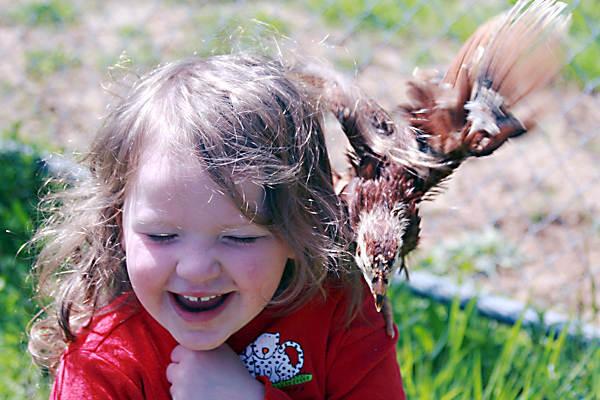
The following is my submission for Iheartfaces.com weekly photo contest. This week's theme is laughter.
Iheartfaces.com hosts Feedback Friday every week. This week they were inviting people to give feedback on Photoshop tweaks of their photos. They limited it to 40 people and I just missed out. But I was browsing others photos. Here is the easiest way for me to provide feedback - just playing around with it myself - here is a before and after.

The photographer's main complaint with her photo were the shadows on her boy's face. To this photo I:
Here was my final version:

Here is my photo for Constructive Feedback Friday at IHeartFaces.com. It was taken on a ferry boat ride in Seattle. Unfortunately I didn't make it in the top 40 links, but hopefully someone will stop by here and give me some input anyhow.

This was the SOCC (straight out of the camera) version.
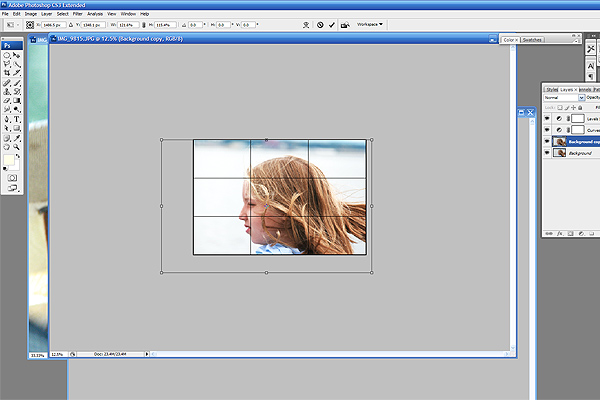
I really like this picture. I just love my step-daughter's hair in this photo. She has such a beautiful flaxen hair color. I also love her relaxed gaze. Today, I played with this photo using a technique my bloggy friend Alyssa let me know about. Check it out here: How to use a grid in Photoshop to apply the rule of thirds to your photos.
I also adjusted the curves with a slight S curve and adjusted the levels on this photo.
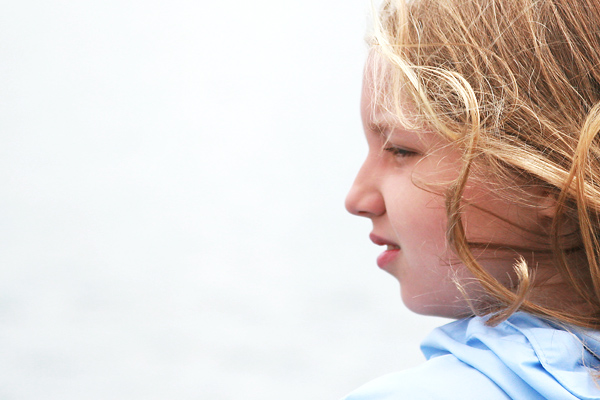
I think I like this fix best, as it gives my step-daughter a lot of space to look into.
Here I am trying an alternative fix, which lines her facial features up on one of the 1/3 grid lines, and which also allows some of the color from the city scape to be seen. I wanted some color for interest, but wasn't as happy with the visual appeal of this one.

This is the flattened version.
Here is the original again for comparison.
I'd like a version of this has the color and good visual appeal - room for her to gaze into and following the guideline of thirds. I'd really like to figure out how to tease out her hair and make it stand out more (selective color). But nothing I tried looked smooth on this. I do own illustrator too, but don't own any non-adobe software. Any input would be welcome.
My entry into this week's Iheartfaces contest is not a new photo for my blog, but is a new photo for Iheartfaces. (I have not submitted it before.) It is one of my favorite photos. If you want to see the technique I used for converting this image to black and white, then check out this blog entry. Oh, how I wish my toddler were little like this again so I could take more pictures of her...

I really enjoy these Fix It Friday assignments at I Heart Faces. It seems like each week, I'm trying new tweaks on new images. Unfortunately, since I was playing around so much, I can't even begin to tell you the steps I took. I hope you enjoy my fix though.
Here is the fixed image:

Here is the original: