The Moon

This was the moon tonight. Not completely full, but according to my husband very close to the Earth right now and it was way huge when it was on the horizon (which, of course, is really the atmosphere bending the light and making it look bigger like a zoom lens).

Now, why will my moon shots turn out, but not my star shots? I mean I know the reason - the moon has enough light to make it f250 at ISO 100. But, who is successful with digital camera star shots and what camera do you have and what is your technique?

the_moon

Braids For The Toddler

My toddler got braids today. I can't believe how long her hair is getting. She definitely has the most hair for her age of my girls. And, despite being a brunette myself, I can't help but fall in love with her curly golden locks, as is the case for most everyone she meets. Natalie got in on the action too and I got a shot of her. ETTL 50mm flash bounced off ceiling, 60 mm macro lens, 2.8/250.

abigail's_braids

abigail's_laugh

nat

A Picture Of My Daughter

I've been under the weather. We're expecting another child come next August and I am in that dreaded first trimester. I have not been doing much, if any, photography, nor playing around with Photoshop. I thought I'd pop in and share a picture I took yesterday, however. I hope you enjoy it. It makes me smile. This daughter is such an either all on or all off kind of girl. This picture really shows my middle daughter's personality.

rachey_walkway

Color Cast

I've been playing around with an old flash I have. I have a ring flash that I purchased a long time ago to take better pictures of products with my old G2. Unfortuneately, even though I owned a fancy flash back then and read the manual several times, flashes were mysterious to me.

I've been reading a lot at Strobist. And, boy, I must say I'm still confused, but the light is starting to glow. I also recently got Scott Kelby's third Digital Photography Book which deals a lot with flashes and deals with off-camera flash (which is what Strobist is all about).

Anyhow, my ring light fits on my macro lens and you can take it off and hold it via it's cord, if you like (you could bungee it to something, but the cord isn't very long). I was playing with it today. The whole idea with flash, as Scott Kelby says so plainly, is to use it in manual mode and balance your flash with the ambient light. There are a couple big problems with that idea though - 1) if your flash is sitting right next to your lens the light is non-dimensional and hard, 2) you have to shoot in manual mode on both your camera and flash to really shoot manually and it can be tricky to get the hang of, and 3) the ambient light (existing light), especially if shot indoors, is usually a different color than the light from the flash.

So, ultimately I'd like to get off-camera. That will involve some purchases. I think I am sold on not going the Canon route for getting off-camera because, although it is my cheapest up front possibility, it is the least flexible. Either buying a second Canon flash and using it as master, or buying the Canon wireless controller, limits your range to a 20-30 degree line of sight. I might want a second Canon flash down the road, anyhow, so that might be a possibility of a next purchase, but I'm not sure. What I've got my heart set on are a pair of Pocket Wizards. These are really fun toys if you don't know what they are. They can remotely trigger your flash or a second camera for that matter. What fun! One day.

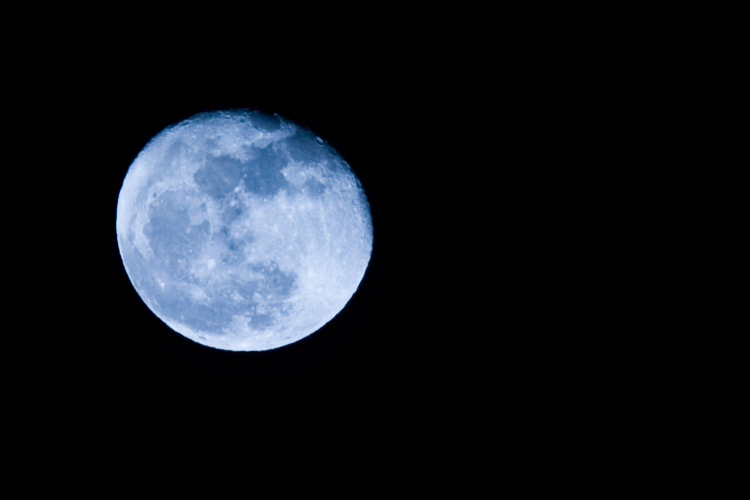
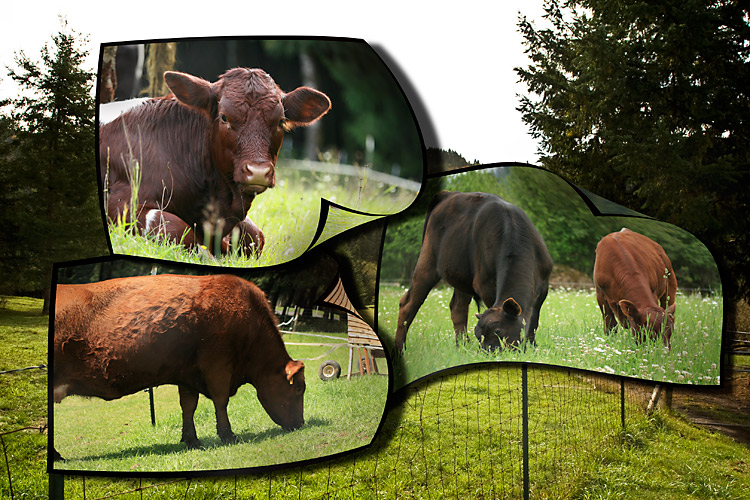
So, I was playing around with my macro ring light today and toning down its power and holding it off to the side (my beginning attempts at off-camera flash).

Money set aside at this time may not cover the pocket wizards and accessories at this time, however, what I want to talk about next is that color cast your pictures can get when shot with flash. You can alter your flash light to match the ambient light by putting on either an orange gel (most lighting) or a green gel (flourescent lighting). Gels are cheap and can be velcroed or even taped on.

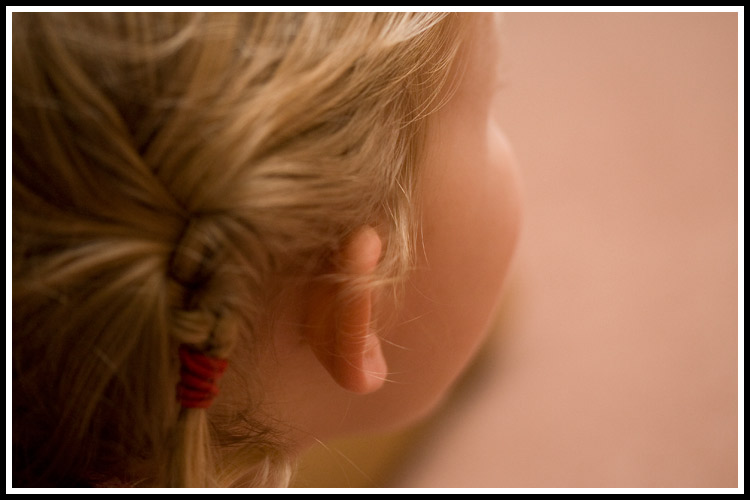
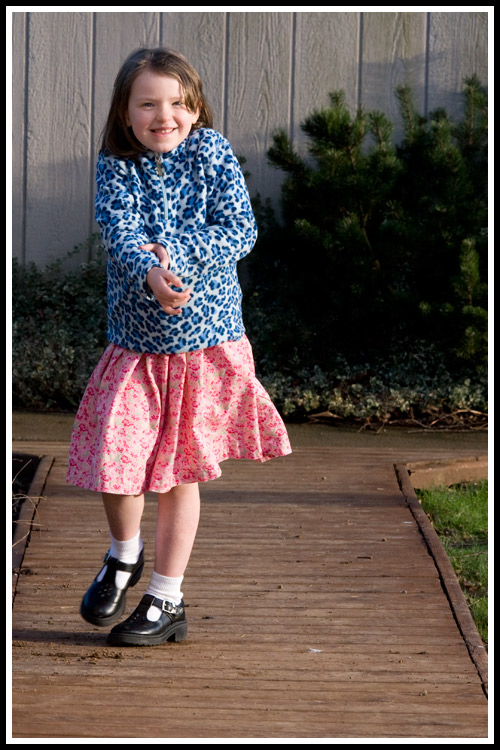
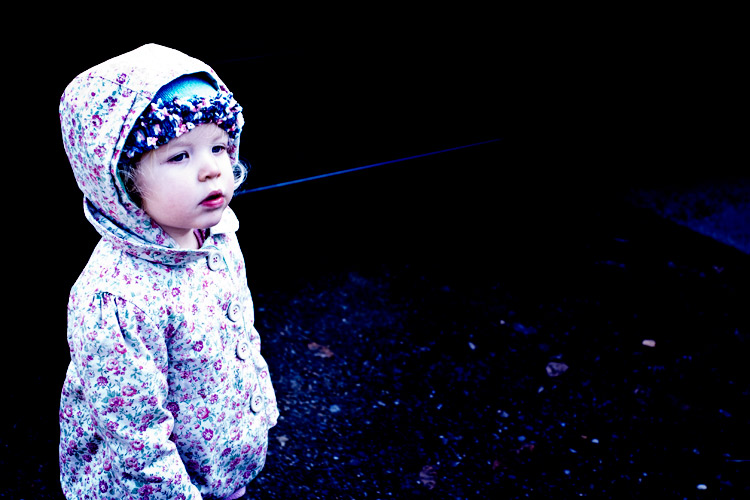
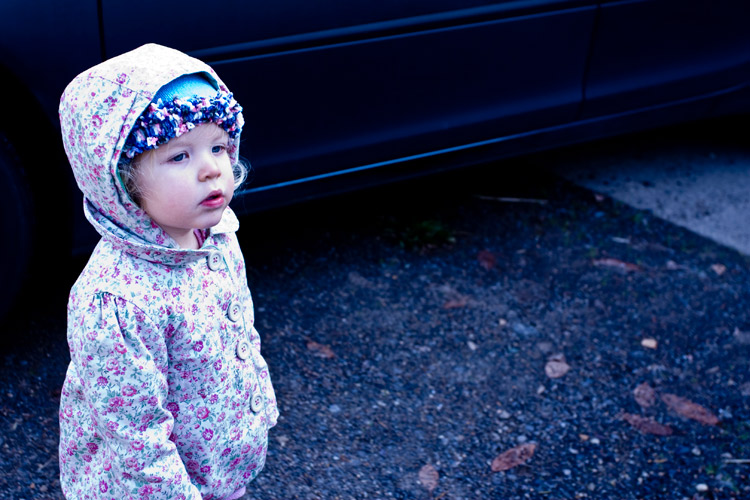
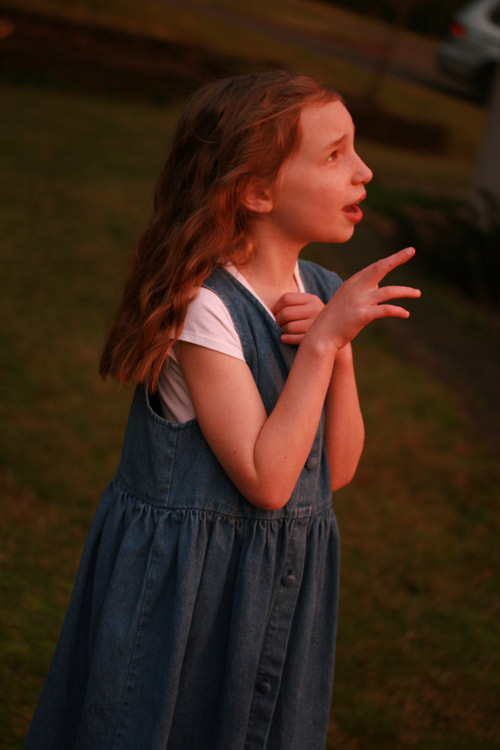
The following picture is an example. The area, after the fade off from the flash has a real yellow cast. The wall was not yellow. If I am to alter my entire photo, it would be very off-cast. But, I learned a cool little trick in Photoshop recently.

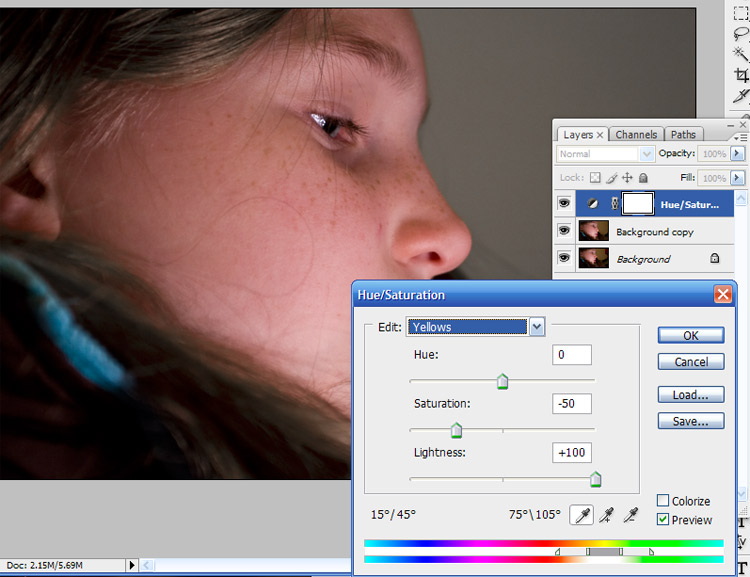
How To Photoshop Out A Color Cast


What I did to this photo and what you can do with most photos (but not all) is Select a Hue/Saturation Adjustment layer and choose the color which is dominating your photo. Then desaturate your color to your liking and increase your lightness. In the case, I desaturated 50% and increased lightness to 100%.

Here is the original:

nat_face_yellow_wall

natalie_face_hue

Here is the desaturated version:

nat_face

Tutorial Reminder

I want to go back and try some of these tutorials. This is just a reminder to myself.

www.tripwiremagazine.com/2009/03/stunning-photoshop-text-effect-tutorials.html

Cow Collage

I made this collage using this tutorial http://www.photoshopessentials.com/photo-effects/collage-warp/. The only thing I would add to the tutorial is that when you make a copy of your warped photo and fill it with black, you'll want to make sure your fill is set to "Preserve Transparency". To do this, instead of using the shortcut, just use Edit > Fill and click the "Preserve Transparency" box. This is so that the fill doesn't fill your entire layer, but just the non-transparent parts.

cow_collage

High Contrast Photo

Over at Graphic Illustrations they call this technique "Lomoization". If you like the technique, you'll want to head over there and follow her video tutorial. In a nutshell we're creating a strong contrast image. Here are some basic steps you take to get this effect. My steps might vary from hers a bit.

1) Select around your main subject using the lasso tool or round eliptical tool.
2) Make sure your feather on the lasso tool is set pretty high (like 50 or more depending on the size of your image).
2) Select the inverse.
3) Use the Levels slider to adjust the background, by taking the grey slider and moving it up. (If you don't like how your selection turned out now is a good time to go back to step one and fix it.)
4) Flatten your image.
5) Apply a curves layer and give it a strong (a little too strong) contrast.
6) Open a new layer and fill it with black.
7) Take the new top layer (black layer) and right-click on it selecting Blending Option. Choose hue in the Blend Mode pull down menu within the Blending Options menu.
8) Lower the opacity of the blended black layer by pulling the opacity slider to the left, until you like the effect on the contrasty-ness of your subject.
9) Open a new levels layer and do a final tweek of your blacks, greys, and whites by pulling the blacks down to make the background darker and adjusting the greys and whites to bring the subject to you liking.

Here are some of my high-contrast images and their originals.

abigail_lomo

This is the image altered with the technique described above.

abigail_before_lomo

This is the "original" image, which was an image I was absolutely thrilled with for it's rich textures and "popping". This image to me looks "lomoized" even before the technique was applied. How I got the result was by accidentally over-exposing, and then pulling down the exposure in Camera Raw. I've got to get out more and experiment with this effect more. Below, you'll see an image that was pretty much "properly exposed".

abigail_proper_exposure

The pretty much "properly" exposed image.

natalie_lomo

Technique Is Applied To The Above Image

natalie_before_lomo

Original

natalie_sunset_lomo_750

Technique Is Applied To The Above Image

natalie_sunset_before_lomo

Original

Photoshop Shapes

One of my main goals in having this blog is to have a place to be able to experiment with Photography Techniques and with Photoshop and Illustrator. With it being a New Year and with everyone talking about their goals for the coming year, I am thinking about how to further myself in my hobbies of being a photographer and a graphic artist. This is just one way I wish to further myself...is just to take a little bit of time here and there and work through Photoshop and Illustrator tutorials. Today I've been over at Graphic Illustrations. I was playing around with a tutorial, how to create pop-art circles. You can use those circles in turn in a collage and create a really nice effect. Check out her site. But, here is the basics of what you do:

1) Open a new document that is square in shape (such as 600 px x 600 px).
2) In your layer's pallete choose gradient and choose radial (make sure your gradient is set to black to transparent).
3) Invert the image
4) Change your file to a grayscale file (so the pixelation we're about to do doesn't end up being in color - you can try it in color for some fun).
5) Go to Filter > Pixelate > Color Halftone
6) Adjust the size of the circle and the angles of the circle to your liking (setting within Color Halftone)

NOTE: You can also make cool effects by creating a gradient of a different shape or by adding other effects to your image such as Filter > Distort > Twirl.

circle_1

circle_3

circle_2

circle_1