I worked through a great
tutorial tonight on adding a vintage effect to your photos. Here is the tutorial from Verle's Blog. Here are some directions in a nutshell:
- Do some modified cross processing and up the contrast to create a really strong image. (Not new to me.)
- Run an edge darkening vignette by going to Filter >> Distort >> Lens Correction and adjusting the vignette there. (This was not new to me.)
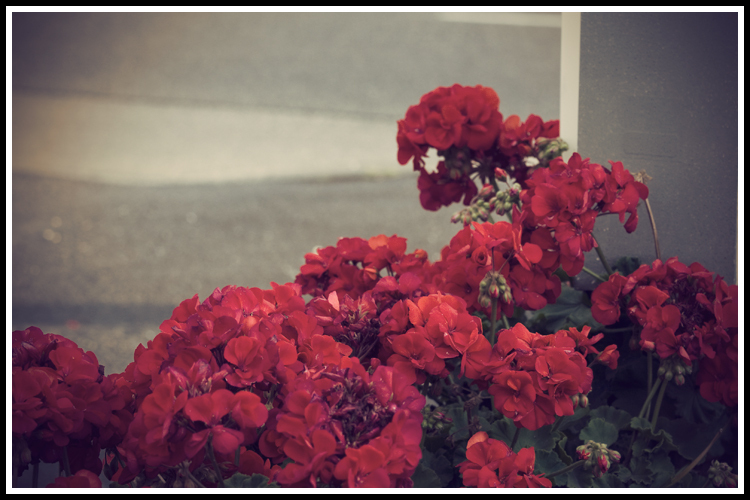
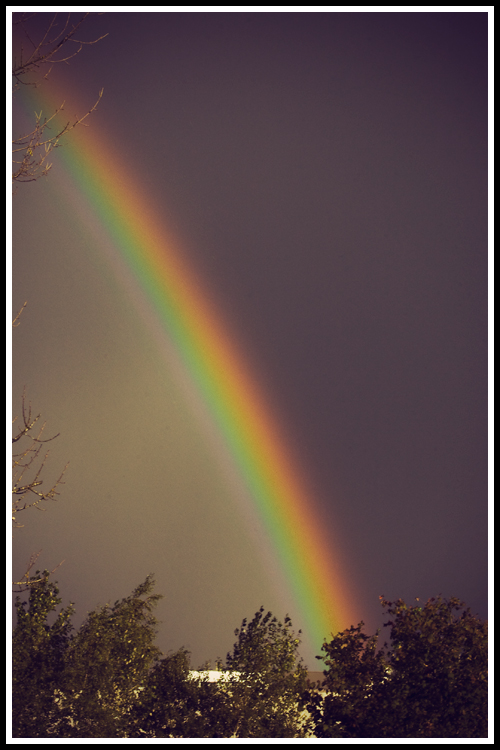
- (Here's where it gets interesting.) Go to Hue/Saturation and check the "Colorize" box. Move the Hue and Saturation sliders around until you get a Sepia you like. (It dawned on me as I did this that this must be how some Photoshoppers get that real chocolate brown or true Sepia pictures more than by using Photo Filters.) Now for a vintage look decrease the Sepia opacity to 50% or so.
- (Something else I did not know.) Old photos have a pinkish cast to them. So, add a magenta pink solid color filter and decrease it's opacity to 5% or so.
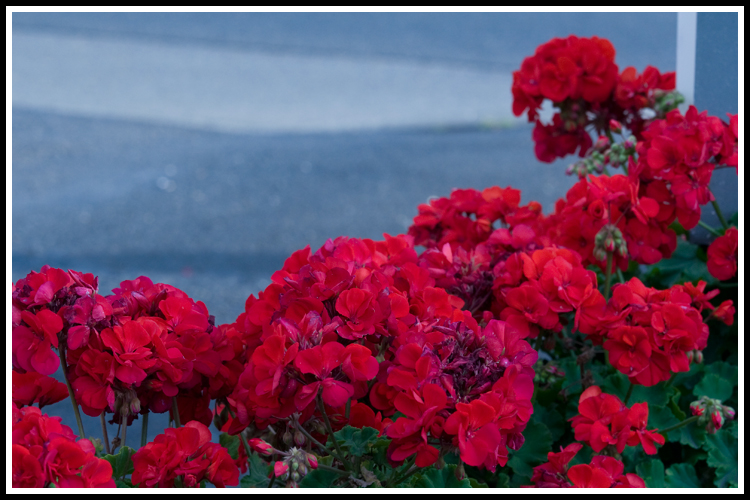
Turned out great I think. Go to her tutorial for more thorough directions. Here are my photos (followed by their originals).
1 comment:
Always like these tips!!
Post a Comment