1) Select around your main subject using the lasso tool or round eliptical tool.
2) Make sure your feather on the lasso tool is set pretty high (like 50 or more depending on the size of your image).
2) Select the inverse.
3) Use the Levels slider to adjust the background, by taking the grey slider and moving it up. (If you don't like how your selection turned out now is a good time to go back to step one and fix it.)
4) Flatten your image.
5) Apply a curves layer and give it a strong (a little too strong) contrast.
6) Open a new layer and fill it with black.
7) Take the new top layer (black layer) and right-click on it selecting Blending Option. Choose hue in the Blend Mode pull down menu within the Blending Options menu.
8) Lower the opacity of the blended black layer by pulling the opacity slider to the left, until you like the effect on the contrasty-ness of your subject.
9) Open a new levels layer and do a final tweek of your blacks, greys, and whites by pulling the blacks down to make the background darker and adjusting the greys and whites to bring the subject to you liking.
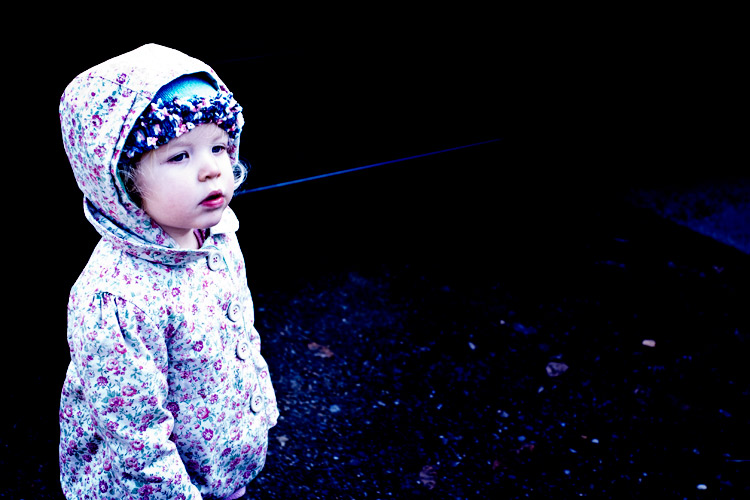
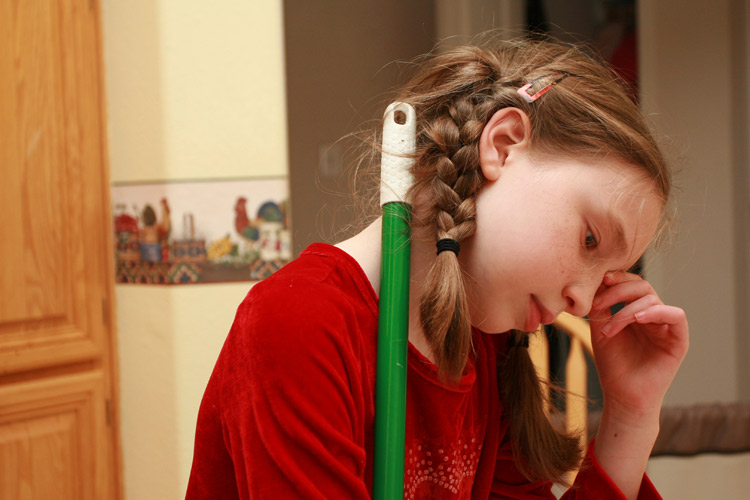
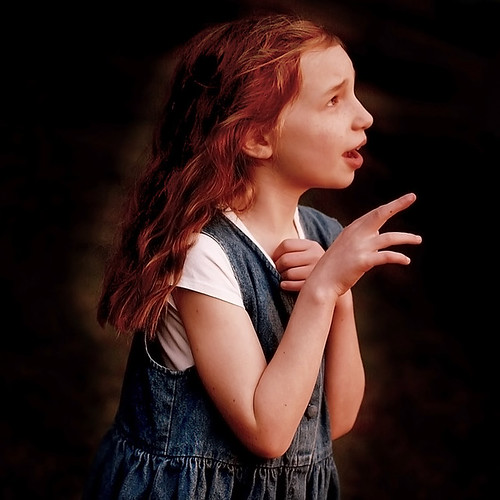
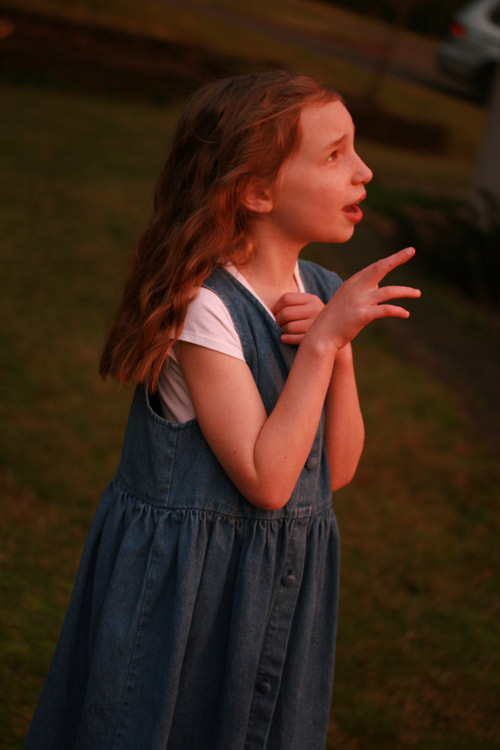
Here are some of my high-contrast images and their originals.
This is the image altered with the technique described above.
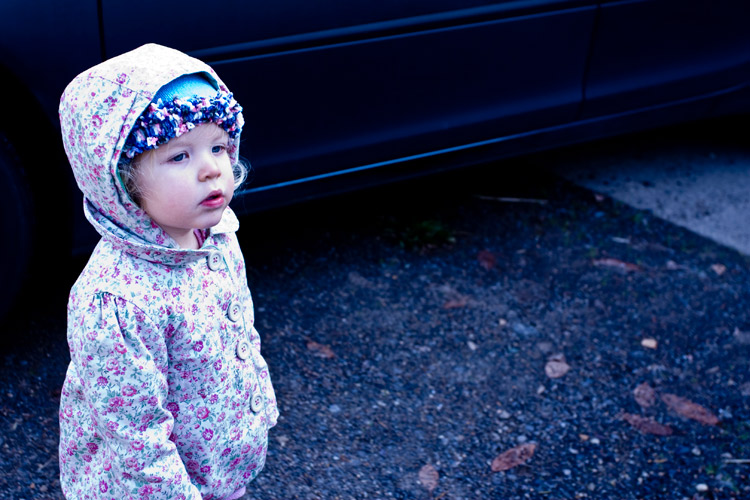
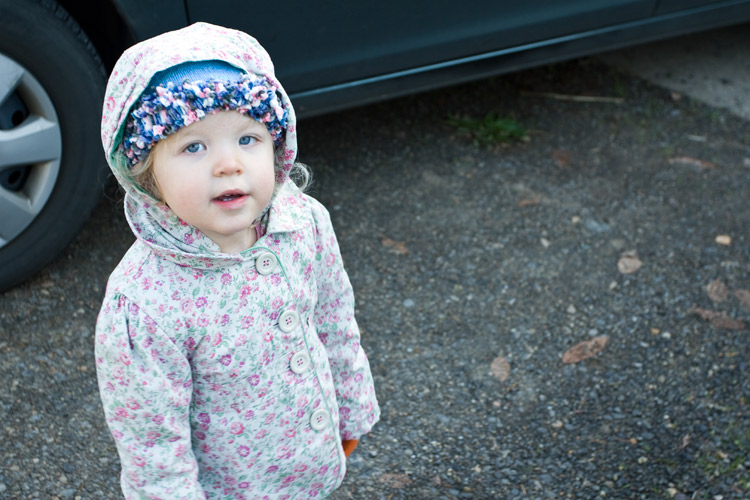
This is the "original" image, which was an image I was absolutely thrilled with for it's rich textures and "popping". This image to me looks "lomoized" even before the technique was applied. How I got the result was by accidentally over-exposing, and then pulling down the exposure in Camera Raw. I've got to get out more and experiment with this effect more. Below, you'll see an image that was pretty much "properly exposed".
The pretty much "properly" exposed image.
Technique Is Applied To The Above Image
Original
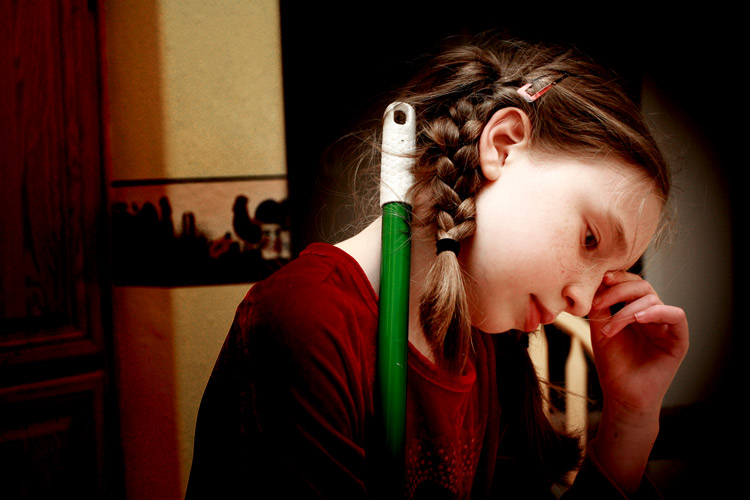
Technique Is Applied To The Above Image
Original

1 comment:
The last high contrast image is my favorite. Her skin tone looks nice.
Post a Comment