The following hand-painted ornaments are painted by my mother-in-law each Christmas for each of the grandkids. Isn't that amazing talent?
Christmas Ornaments
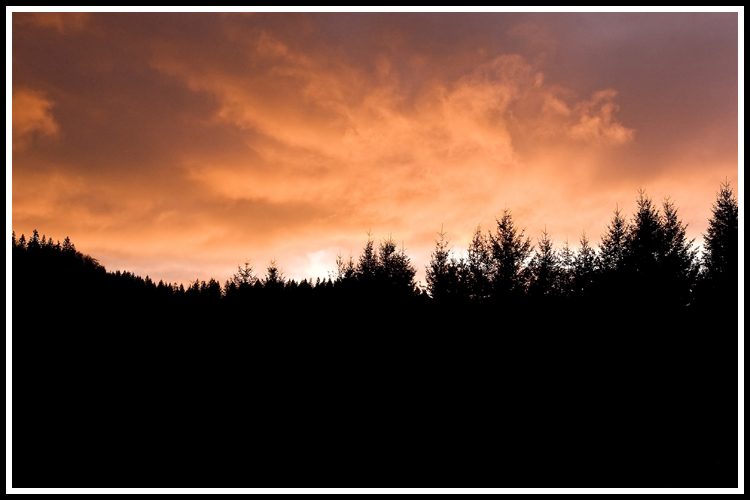
Light Show

And, here is my oldest daughter standing in the orange glow admiring the clouds.
An Ordinary Post
What I do love is Christmas day alone with my lovely little family, reading the true Christmas story out of Luke, listening to the girls sing Christmas songs, and realizing that they really get what the real meaning of Christmas is. So, I still will wait on the Christmas posts.
Today I was heading out with my lovely eight year old to go shopping - a day with just her and I. It was a little tiring for her (and I), but I think it was a good experience and a bonding time, nonetheless.
On the way out of our place, I thought, "what a typical day it was today weather wise for this time of year (and beautiful too in it's own way)". So, I wanted to share some pictures of the landscape (and weather) as I was driving out.
Below is our home. You can only see a small bit of it. The trees are the property line on one side, but our little "farm" extends to the left far beyond this picture and way down the hill along the trees, where you can't see it. This fogged in look is typical. It really isn't foggy per se. It is rainy and those are clouds hitting the foothills. Usually when there is fog in town, we are fortunate to not get any right where we are because we are a little higher than town.

The following is looking back to our little valley we live in and you can see the foothills rising all around - foothills to the mountains. No volcanos right nearby, but there are plenty of almost 4000' mountains just a little to the East.

Isn't this next picture striking? I've always thought that one Oregon White Oak in the middle of the Firs to be striking. There are a lot of tree farmers in our area. Those small trees will be big in a few years.
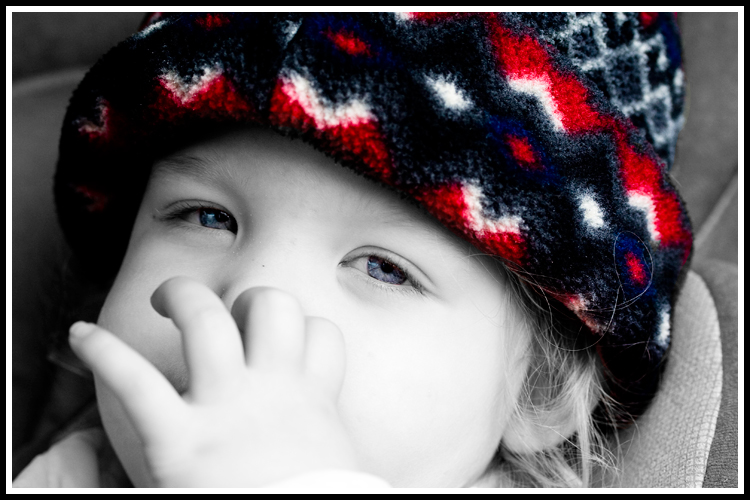
Black & White
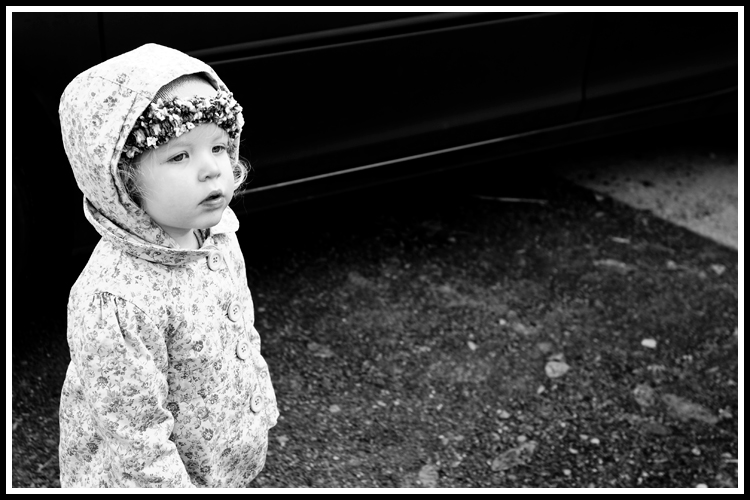
Low Light Dolly
Anyone find it really hard to capture your kids this time of year? I do. Not enough light. And what light I can resurrect doesn't always work out right. I have a bounce flash and I recently got a diffuser (which I haven't been very pleased with). What I need is more practice I guess.
I did manage to get a picture worthy of sharing of my littlest doll this evening. Here it is.
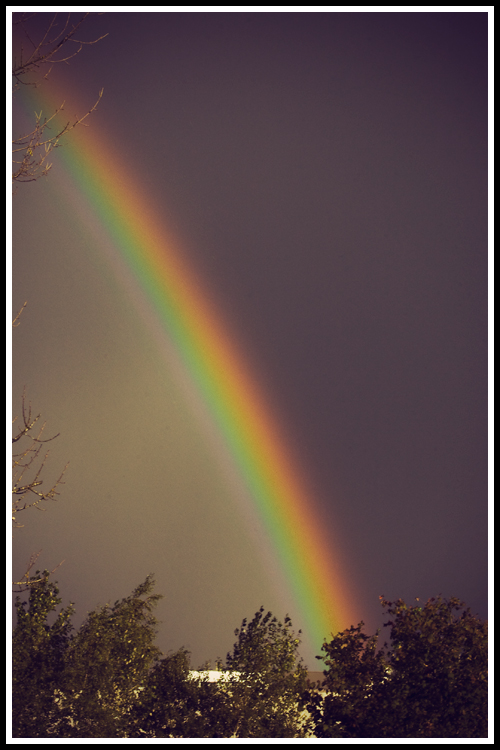
You Capture Lines
I took my You Capture pictures early, but forgot to post them until later. Oh, well! Anyhow, last week I had fun looking for different kinds of lines on my nature walk. 
If you want to participate in this week's You Capture photo challenge, it's not too late, you can add your link at any time.
Next week's theme is Holiday Decor. That should be a tricky one for me as I'm notoriously bad about getting up my Christmas things (sometimes a few days before Christmas).
Here are my line pictures.
Fix It Friday - I Heart Faces
I took my hand at Fix It Friday from I Heart Faces this week. Here is my before and after.
Cropping For The Feeling Of The Photo
Vintage Effect
I worked through a great
tutorial tonight on adding a vintage effect to your photos. Here is the tutorial from Verle's Blog. Here are some directions in a nutshell:
- Do some modified cross processing and up the contrast to create a really strong image. (Not new to me.)
- Run an edge darkening vignette by going to Filter >> Distort >> Lens Correction and adjusting the vignette there. (This was not new to me.)
- (Here's where it gets interesting.) Go to Hue/Saturation and check the "Colorize" box. Move the Hue and Saturation sliders around until you get a Sepia you like. (It dawned on me as I did this that this must be how some Photoshoppers get that real chocolate brown or true Sepia pictures more than by using Photo Filters.) Now for a vintage look decrease the Sepia opacity to 50% or so.
- (Something else I did not know.) Old photos have a pinkish cast to them. So, add a magenta pink solid color filter and decrease it's opacity to 5% or so.
Turned out great I think. Go to her tutorial for more thorough directions. Here are my photos (followed by their originals).
Autumn
Clipping Masks & Displacement
Shapes In Photoshop
I made this:
Using this tutorial. I didn't realize that you could manipulate shapes with the direct select tool much the same way you do in Illustrator.


