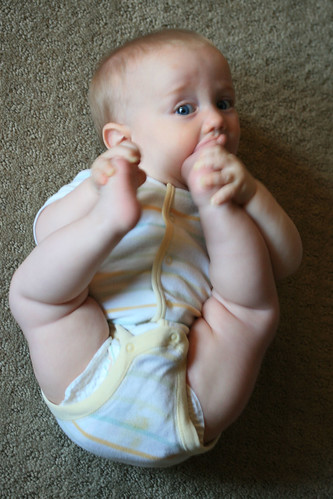
I managed to eeek out a decent picture with this one.
The original is below in the first picture. It's a little too blurry - especially in the face and the feet, because the little guy was moving and I was using existing light coming in through a window. You can really see it if you click on the image and go to the bigger image.
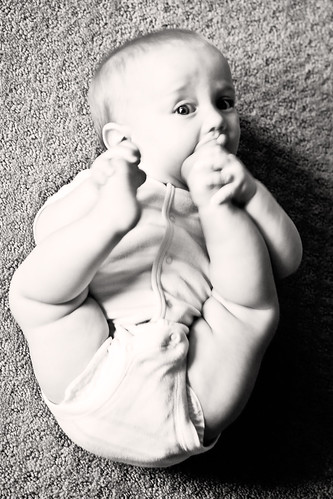
Here is my Photoshop alteration. First I changed Camera Raw settings - upping the black, upping the contrast, upping the intensity and then adjusting the exposure to match. Then I converted it to black and white using my baby blown out method for black and whites making my solid color adjustment layer just about 20%. As usual, I adjusted curves using an S-curve and adjusted levels to my liking. I applied an unsharp mask to the picture to my liking. Then, after merging my layers, I duplicated my layer and made a layer just for sharpening the eyes a tad more. Last, I added a bit of sepia type color to the photo by going to Photo Filter and choosing a color (in this case mine was a deep brown) and adjusting the density to my liking.
Below is the new photo. If you click on it and choose the larger sized photo, you will see that it still looks pleasing even blown up.
No comments:
Post a Comment