The Fix-It photo this week at I Heart Faces was fun and easy to work with. I just love how red-heads pop in photos don't you?
Here is the original: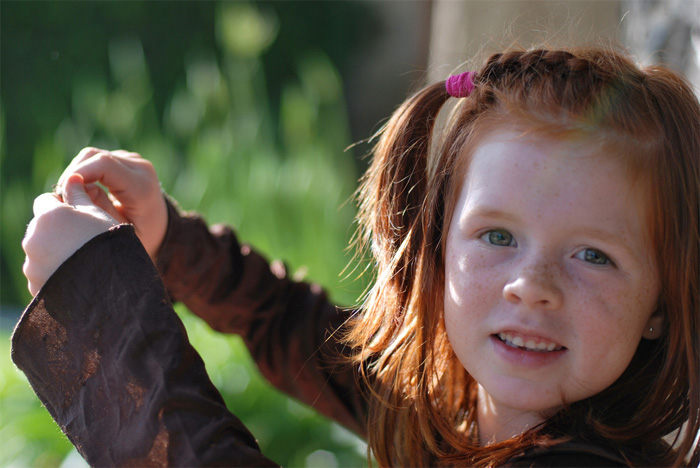
Here is the fix: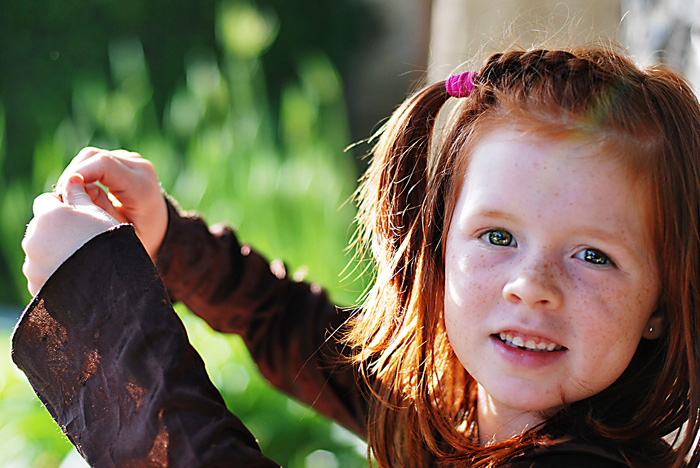
I applied very easy and common fixes I often use on photos.
- I applied a custom curve to the photo by applying a curves adjustment layer and pulling up the curve a little (like an arch).
This photo needed to be lightened a little - this is the most effective way I know to do this in Photoshop. In Photoshop you can apply a curves adjustment layer by going over to the layer pallete and choosing the half black/half white circle, right clicking on it, and choosing curves.
- Then I applied a brightness/contrast adjustment layer, adjusting the contrast to 50%.
Because of the slightly foggy look of the photo, upping the contrast a little was helpful for this particular photo. However, if I hadn't lightened the photo enough, upping the contrast would have looked dark.
- Then I applied a levels adjustment layer to the photo, pulling the grey slider to the right a little.
I did this so that the midtones in the photo would be a little more rich. If you were to pull up the blacks, you would have lost some of the rich colors.
- I, then, flattened the image.
- I duplicated the image.
- I applied a strong sharpen on the top layer - something like 250%, 3 pixels, and level 5.
- Then I applied a alt-add vector mask to this top layer I just sharpened. This gets me a black vector mask that will hide my layer, with the exception of areas I paint with white to have the layer show through. I set my paintbrush opacity to 50% and paint the eyes (just the dark circle portion of the eye, not the whites or the eyelashes).
- If I like how the eyes look and they seem to blend, I'll leave what I've got. If it need to be toned down slightly, I'll adjust the opacity of the top layer (the one with the alt-layer mask applied to it), by making sure that top layer is selected and using the opacity slide feature by moving the mouse over the word "Opacity" in the "Layers Pallete".
- I'll flatten my image and apply a final mild sharpen to the entire image - something like 50%, 2px, level 5.
- That's it!
I hope you enjoyed the walk through of my fix.
4 comments:
Wow! Love your edit!
Me again! :o) Where did you find the template for your blog? I love that you have big pics but still have room on the side for info and links..... I would love to have bigger pics on my blog but am not crazy about having all of my links at the bottom. Thanks!
Love your edit! Her eyes look golden, so pretty.
Thanks for the tips! I got my blog all "fixed" but can't get my photo's to upload larger. Is there a trick to that? I hope you don't mind my asking...... I just don't know how else to find out. Thank you!!!
Post a Comment