I've actually just recently learned a technique for using textures with my photos. Here is an easy (I hope) tutorial for adding textures to your photos.
I'll start with two photographs - one, the picture I want to showcase, and the other, the texture. Here they are:

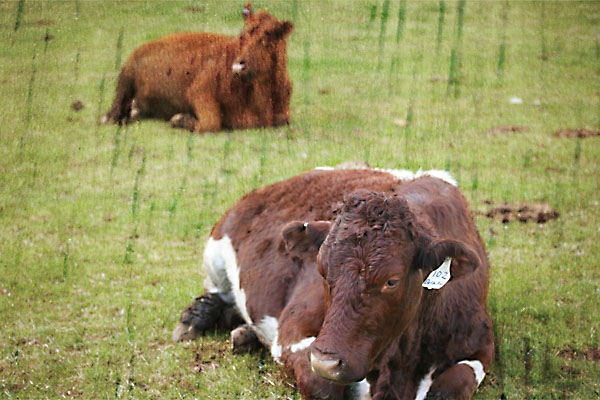
The cow photo - I wanted to showcase
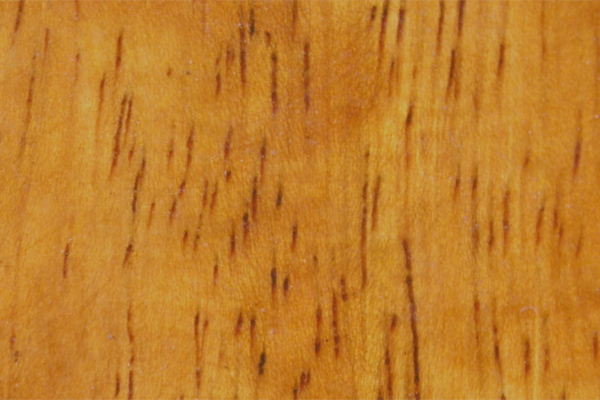
Texture photo
For your texture photo you can take a close-up picture of most anything. Here in this blog entry I used a tree for the texture. Paper, wood, rocks, anything repetitive make good textures. Or, you can get a texture from the web from a site like Mayang's Textures.
I took the texture photo and tweaked the levels, the contrast, and the curves of my texture and then desaturated it until it looked like this:
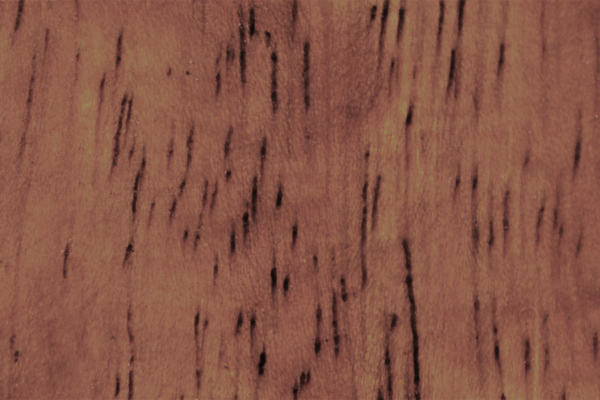
My original photo looked too saturated and didn't have enough contrast (detail) to make a good texture when combined with my photo, so I changed it. You may or may not want to alter your texture. That's up to you.
So, I take my original photo and duplicate the background layer. I make sure my texture photo is the same size as the photo that I want to add texture to. In this case they are both 600 px by 400 px. Making sure than my image is flattened (all one layer), I Select-All (CTRL-A) and Copy (CTRL-C) my texture photo. I go over to my original photo and I Paste (CTRL-V). This will create a third layer on my original photo. The first two layers are the original photo (the cow), the third layer is the texture.
I make sure the texture layer is on top. I RIGHT-CLICK with my mouse on the texture layer and choose BLENDING OPTIONS (the second option in the pull down menu). In the main screen under BLENDING OPTIONS there is a header that says GENERAL BLENDING. Blend Mode. Click on the arrow after Blend Mode and you will get a pull down menu where you can choose the option OVERLAY. Click on Overlay. This creates the texture. You can adjust the opacity of this to your liking using the opacity slider in the main screen of the BLENDING OPTIONS box.
At this point if you look at your image, the whole image has the texture on it. In most cases, this is probably not what you want. You want your subject to be sharp and not to have a texture on top of it. This is why I made an extra copy of the original photo (the cow). Now you will want to make sure that the EYE to the left of the layer is off for the bottom layer and on for the top two layers. This makes one of your original photos non visible. Go to the pull down menus and choose Layer >> Merge Visible. This will give you two layers now - the newly merged textured photo (of the cows with the texture in it) and the original. At this point, you will turn the visibility (click on the square next to the layer to make the EYE appear) to your original layer.
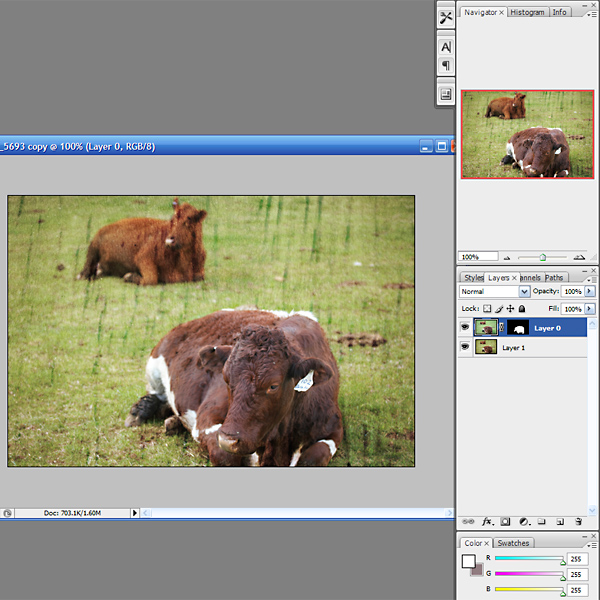
Now move the original photo to the top layer. Click on the layer thumbnail of the original photo, then ALT-ADD VECTOR MASK (Alt-the rectangle with the circle in it). This will create a mask on this layer and make the layer disappear on the main image. Now you will color in the part you want from the original (the non-textured picture) with a white paintbrush. The original photo will show through the photo. This is the same technique you use to sharpen just eyes in a photo (which I learned from iheartfaces.com). Here is a screen shot from this point in the process.
Once you have the effect you like, you can merge your remaining layers and do a final sharpen if necessary on your final photo (unsharp mask). I tried to be thorough, yet simple in writing this tutorial, but if you have any questions or suggestions about this technique, just ask.
Here's a final image:
2 comments:
Great tutorial :D I can get about as far as the vector mask bit and then I get lost. I do not actually have photoshop, so I have to 'translate' everything into gimp/paint.net/photoscape/picnik (that's what I have and use). I love Picnik but its layering is a bit limited. It does have the blending modes, but no ability to erase the texture from the image. I haven't quite figured gimp and paint.net out to this level yet - but I AM getting there (this week I've been concentratin on layer clip-masks more and learning how to use those). Maybe when I have sussed out textures, I will write a tutorial myself on how to do it in those programs! Meanwhile - thanks - it is helpful to have the steps laid out. One thing though - when do you make the bottom layer visible again? You mention turning its visibility off, but then in your 'snapshot so far' it is clearly on again - when did you do that? Also, thanks for the link to that texture site - she has some amazing textures - esp the marble ones - very cool!!
Absolutely great tutorial. This is very useful. keep coming these kind of tutorials. Thanks for sharing.
Regards,
photoshop masking
Post a Comment