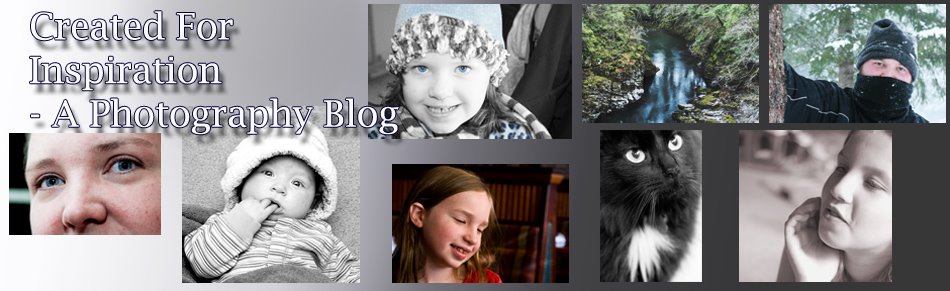
I couldn't help but edit this photo for selective color. I did this selective color a bit different than I have in the past. In the past I've done selective color edits by and selecting the object I want to keep with one of the selection tools. Then I created a second layer and posted that object there. And I desaturated my initial layer.
I wanted the reds/magentas/blues in this image. So I chose a hue/saturation adjustment layer for yellows and greens and desaturated those. I chose hue/saturation for the cyans/blues and changed the saturation and the hues on these to my liking. I had saved another copy of the image and made a black and white coversion of the image. Then I pasted my partially desaturated image as a new layer on the black and white image and adjusted the opacity of that layer to my liking. I also made a copy of the partially desaturated image and altered the brightness/contrast and sharpness on this layer to my liking - looking mainly for the effect on the eyes, but also some of the blue on the piano and the red on the nose. I created a layer mask (alt-layer mask button) and painted white on the black of that mask on the eyes. Then I made the opacity of my paintbrush lower (like 30%) and painted some over the nose and the blue reflections on the blurred out piano. That gave me a little more color to these items, but allowed it to blur in nicely.
Below is my edit: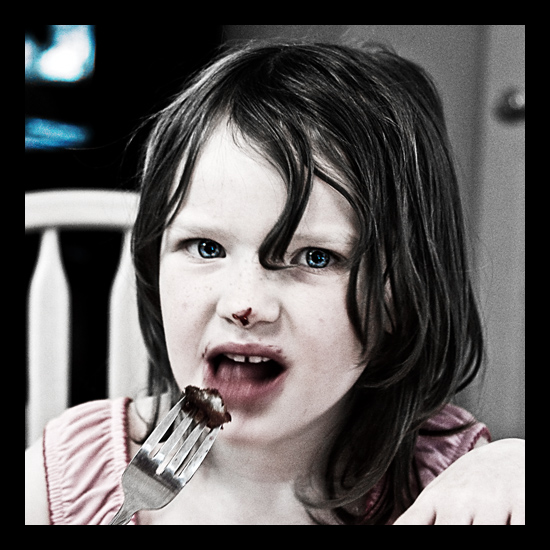
This is the SOCC version:
1 comment:
I love the eyes in this one! Very cool effect.
Post a Comment