
Every Friday, I Heart Faces hosts Fix It Friday (or Constructive Feedback Friday) to give photo enthusiasts a chance to fix someone else's photo with Photoshop (or other photo editing software).
Here is the original of this week's photo - Little Beauty:
Here is what I did to "fix" the photo:
- Cropped it to line up with rule of thirds line
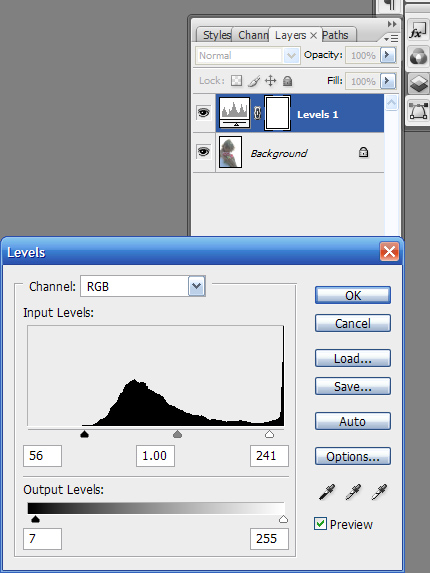
- Did a levels adjustment – moved the black slider to the bottom of its hill
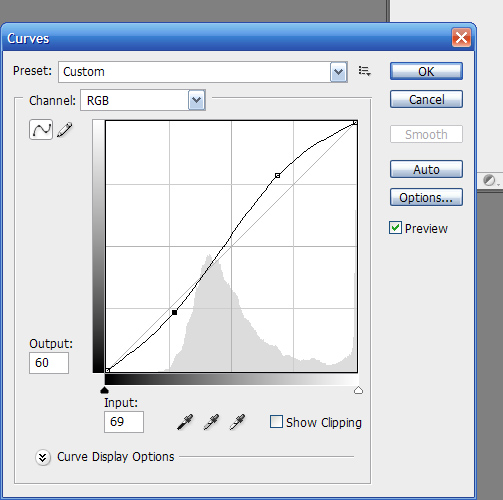
- Did an S curves adjustment using a curves adjustment layer
- Did an brightness adjustment layer
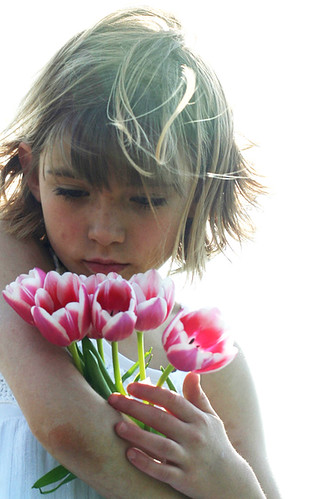
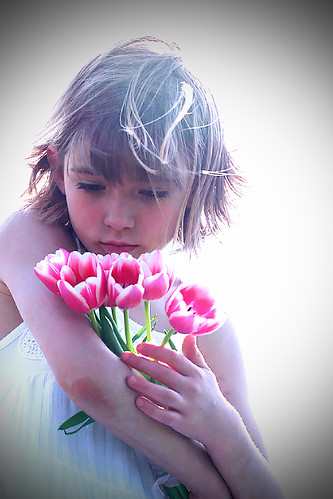
These adjustments alone leave quite a pretty picture, such as you can see here:
I continued on, however. Here are the rest of my steps.
- The hair in the image was now too green, so I did a color balance adjustment layer and on midtones (default) entered -10 for magenta/green and -10 for cyan/red
- I flattened my image.
- I ran a reduce noise filter – and chose 10 for strength, 50% for preserve details, 0% for reduce color noise, and 50% for sharpen details.
- I brightened up the flowers by running a channel mixer adjustment layer at 120% red, -40% green, and 20% blue.
- I ran a photo filter adjustment layer - a cooling filter (LBB) at 20%.
- I ran an exposure adjustment layer – sliding it up for Exposure slightly (.4) and down for Gamma Correction (1.15).
- I ran an unsharp mask (filter>sharpen>unsharp mask) at 150%, 1 pixel, and 5 levels.
- Now, I zoomed into her face and fixed a couple of marks on her face wth the healing brush.
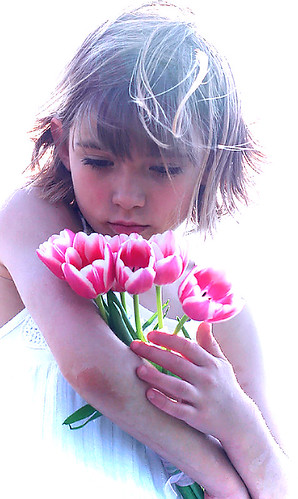
- Finally, I chose Distort—Lens Coreection. to apply a vignette. I show two versions here. The first is vignette that lightens. Then, I trimmed the photo up. The second is a vignette that darkens.


4 comments:
I love your step-by-step instructions. How nice for you to add that in! The vignette looks beautiful.
~Angie
co-founder of I ♥ Faces
nice job. Great instructions, too.
Great job, I love how soft it looks.
Very nice work!
Post a Comment